Setting up a connection with the Epson TM-T20III via USB

Here you will find clear instructions on how to successfully set up the Epson TM-T20III.
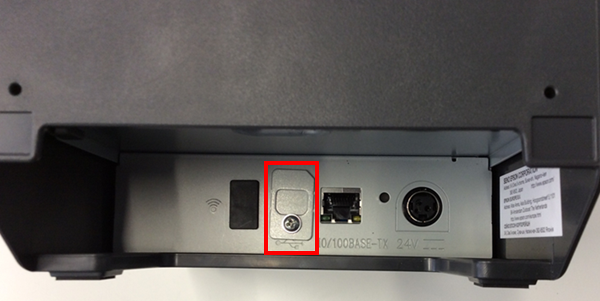
The new version of the Epson TM-T20III printer has slight changes to the printer's ports. The cover now needs to be unscrewed to access the USB port.
- On the printer you will find the "Feed" button (the lowest symbol next to the round button).
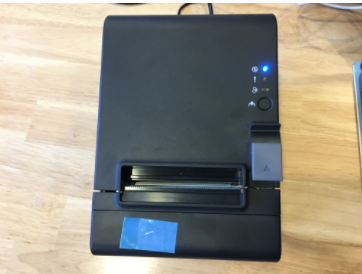
- Press the power button while holding down the feed button.
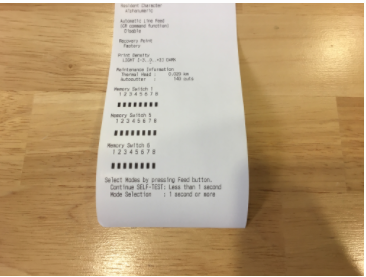
- Hold down the feed button again to access the Mode Settings.
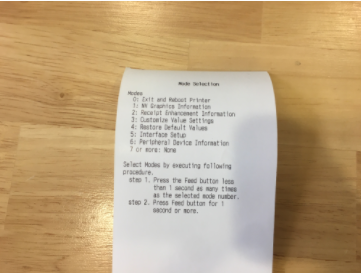
- Now press the Feed button 3 times and hold the Feed button the 4th time to get to the option 3. Customize Value Settings.
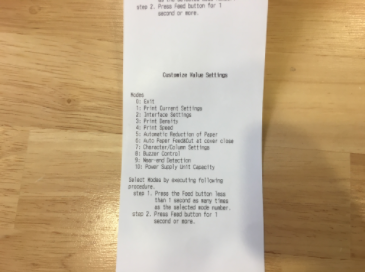
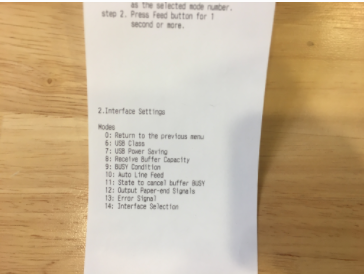
- Now press the Feed button 14 times and hold the Feed button for a few seconds on the 15th press to get to the Interface Selection option.
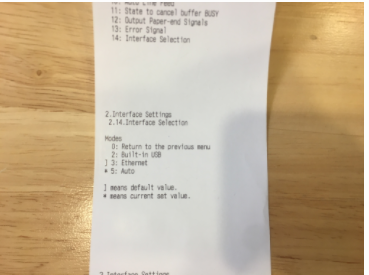
- Now Auto is set. You can see this by the * (asterisk). However, the * must be next to USB.
Now press the feed button twice and hold it down for a longer time the third time.
- To exit, press the Feed button once briefly and hold it a second time for more than one second. The Paper light should stop flashing.
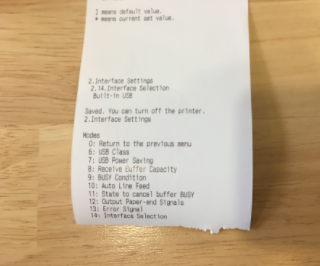
The printer has now been set to USB.
Turn the printer off and on again. If necessary, you can also run a self-test again. This time, "USB" should be selected as the interface.
If you made a mistake, turn the printer off again and start again at step 3.