Import of accounting accounts

In addition to products, customers and vouchers, you can also import accounting codes. It is still possible to create accounting codes individually in the Admin Interface . However, if you want to create or change a larger number of codes, the import option is recommended.
To import accounting codes, proceed as follows:
Download import template
To download an import template, follow these steps:
- In your Admin Interface click on Preferences.
- Select Data Import.
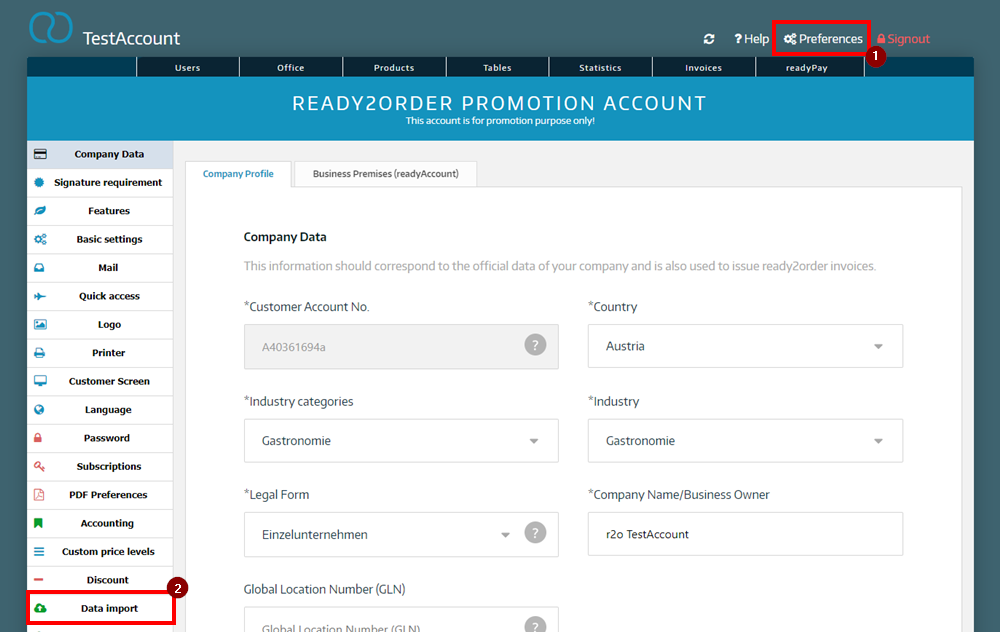
- Now click on Download import templates for accounting codes here.
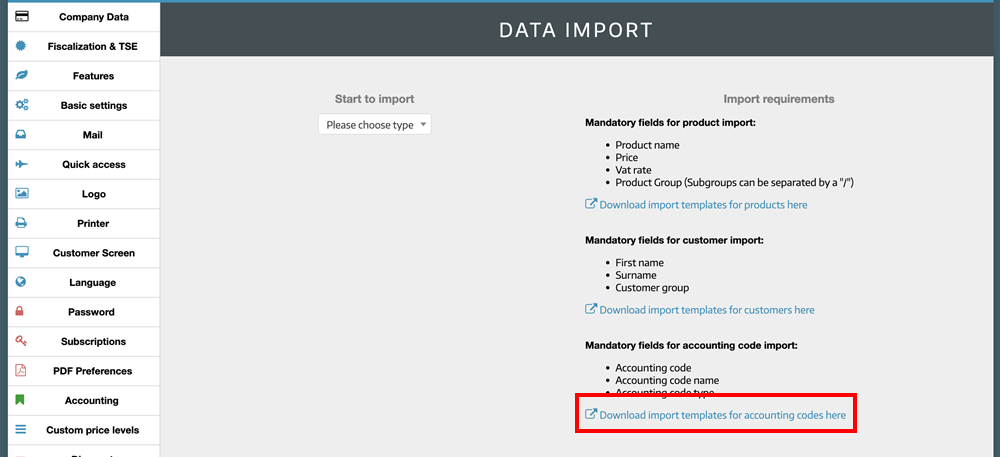
- You will now find the template as an Excel file in your download folder.
Edit import template
The import template looks like the following screenshot.

When you have finished editing the import template, save it.
Upload import template
To upload the import template, proceed as follows:
- Go back to the Admin Interface .
- Click on Preferences.
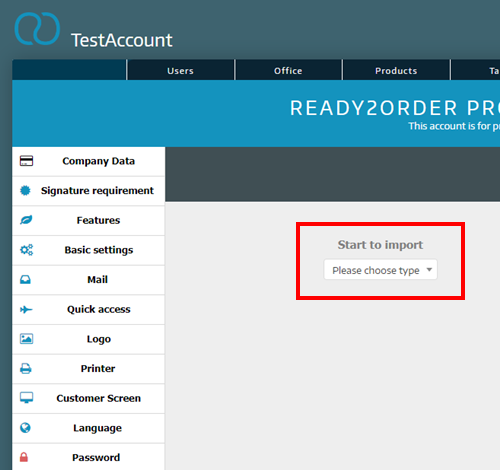
- Select Data Import .
- When importing data, select accounting accounts.
- Now drag the previously saved Excel file into the drag and drop field or click on Choose files and select the file from the folder in which you saved it.
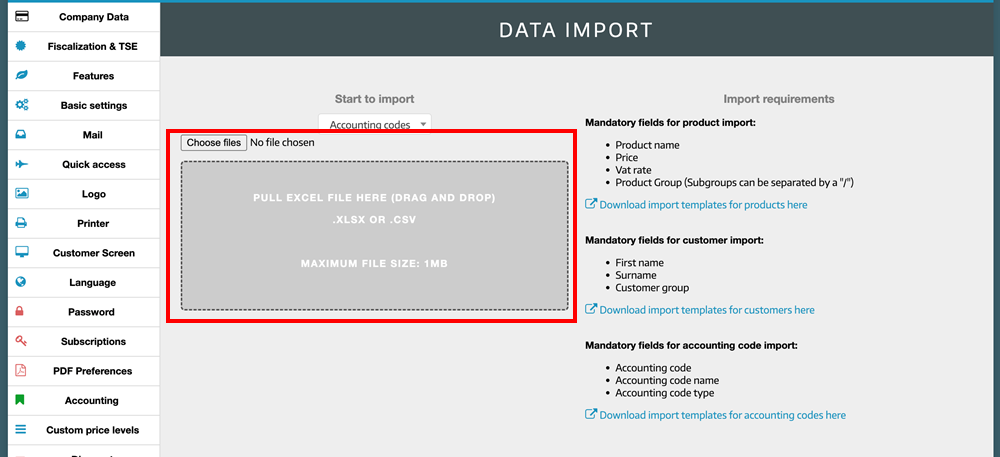
- The file will now be uploaded. Once it has finished uploading, click Import accounting codes.

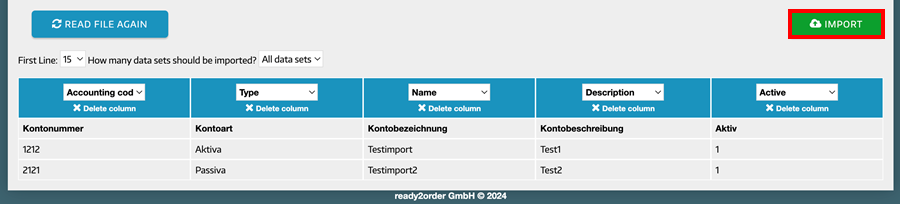
- A window will now appear in which you can see the accounting codes to be imported. If everything is correct, select Import.
- The accounting codes have been imported. They are visible in your Admin interface under Preferences > Accounting in the Accounting codes tab.