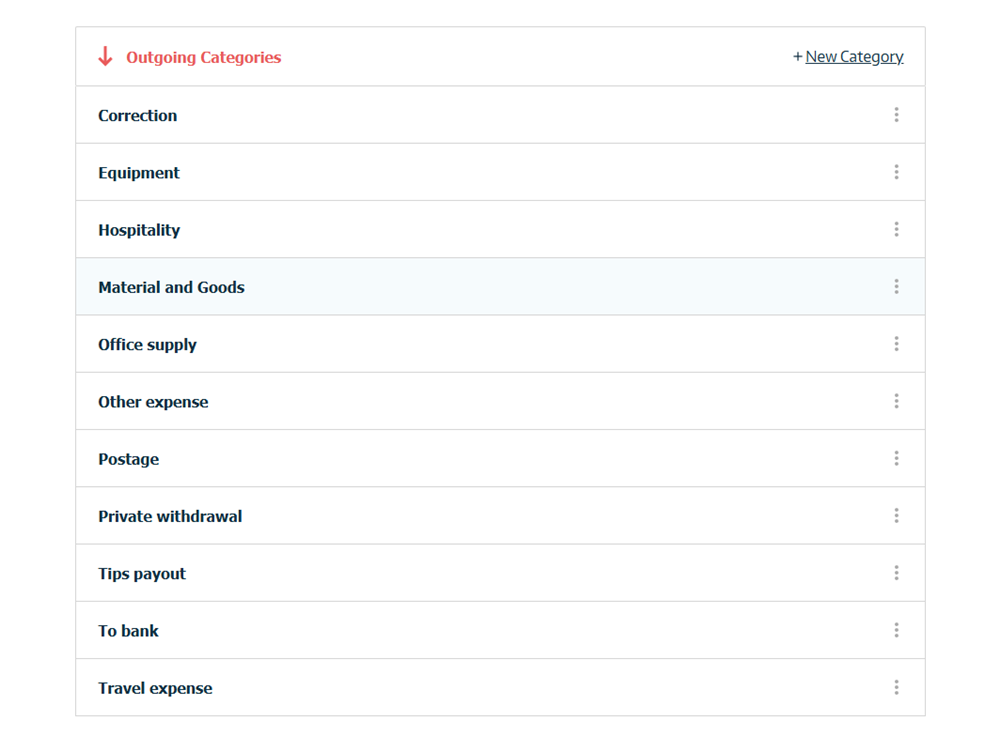
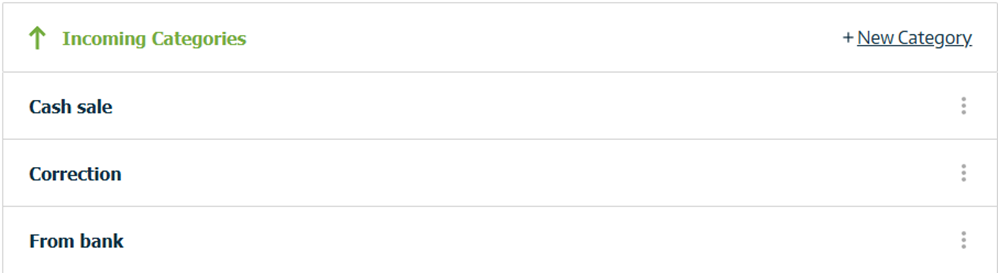
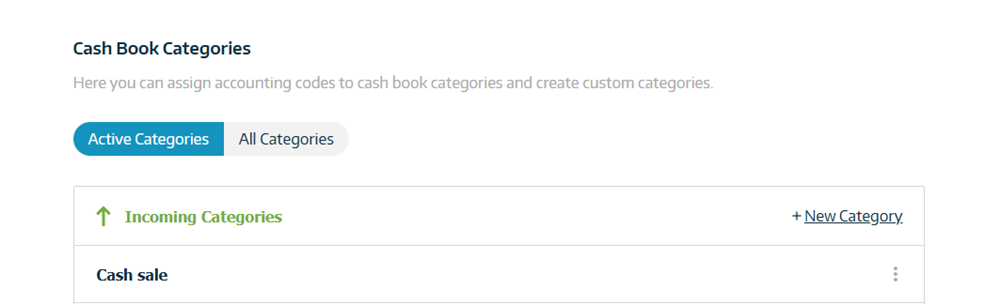
Under cashbook categories you will find all the categories that have already been created
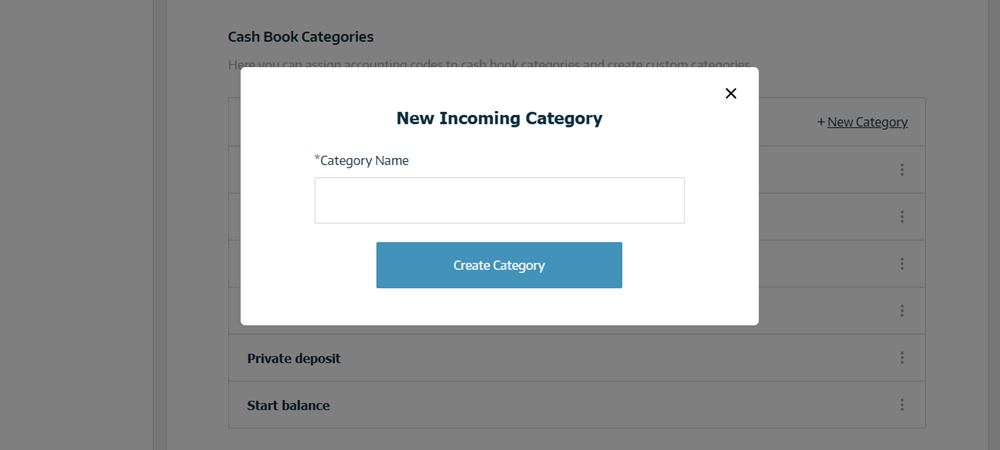
Add your own categories
You can add your own categories in addition to the predefined categories.
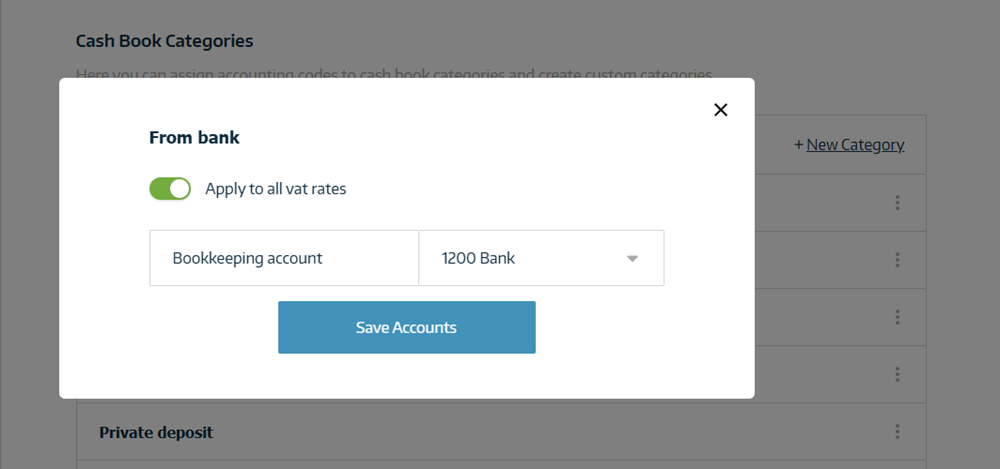
First, define the name of the new category
Assign an appropriate accounting code to the new category. To do this, select one of the accounts displayedYou can find a list of all accounting accounts under Preferences > Accounting > Accounting codes. You can also edit the accounts here.
After creation, the new category is available for selection in the cashbook
Rename categories
You can also rename the categories as you wish. To do this, click on the three dots next to the category, click on "Change name" and enter a new name for the category.
Disable categories
You can also deactivate existing categories that you do not use. They will be removed from the active categories and will no longer be displayed in the cashbook.
As soon as you have deactivated a category, the "All categories" button will appear. All active and deactivated categories are displayed here
You can reactivate deactivated categories at any time!
After making a change, you may need to close and reopen your cash register app to see the change in the cashbook.