Connect Windows device to the printer via LAN/network
How to install your LAN printer on Windows
In this help article we will show you how to set up your LAN printer on Windows. At first glance it seems very complicated, but with our instructions you will be able to set up your printer very easily.
Download driver
First, go to the Epson product page . Here you can search for your printer model. Once you have selected your desired printer model, open the Software section.

Here we have links for some printers that will take you directly to the printer drivers without having to search for them:
To download the software from the Epson website, you must first accept the software license terms.

Search for EPSON Advanced Printer Driver 5 for TM-m30 (for English model) (Windows) and click Download .

Once the download is complete, go to your Windows Downloads folder and double-click the downloaded file.

Now open the APD file with a double click.

A message will now appear where you must select Run.

The installation process will now open. Click Next in the window that appears.

Read the software license terms, click Agree, and then click Install .

Wait until the installation is complete. In the window that opens, click Next.

The Epson APD - Register, Change, or Delete program will now open.

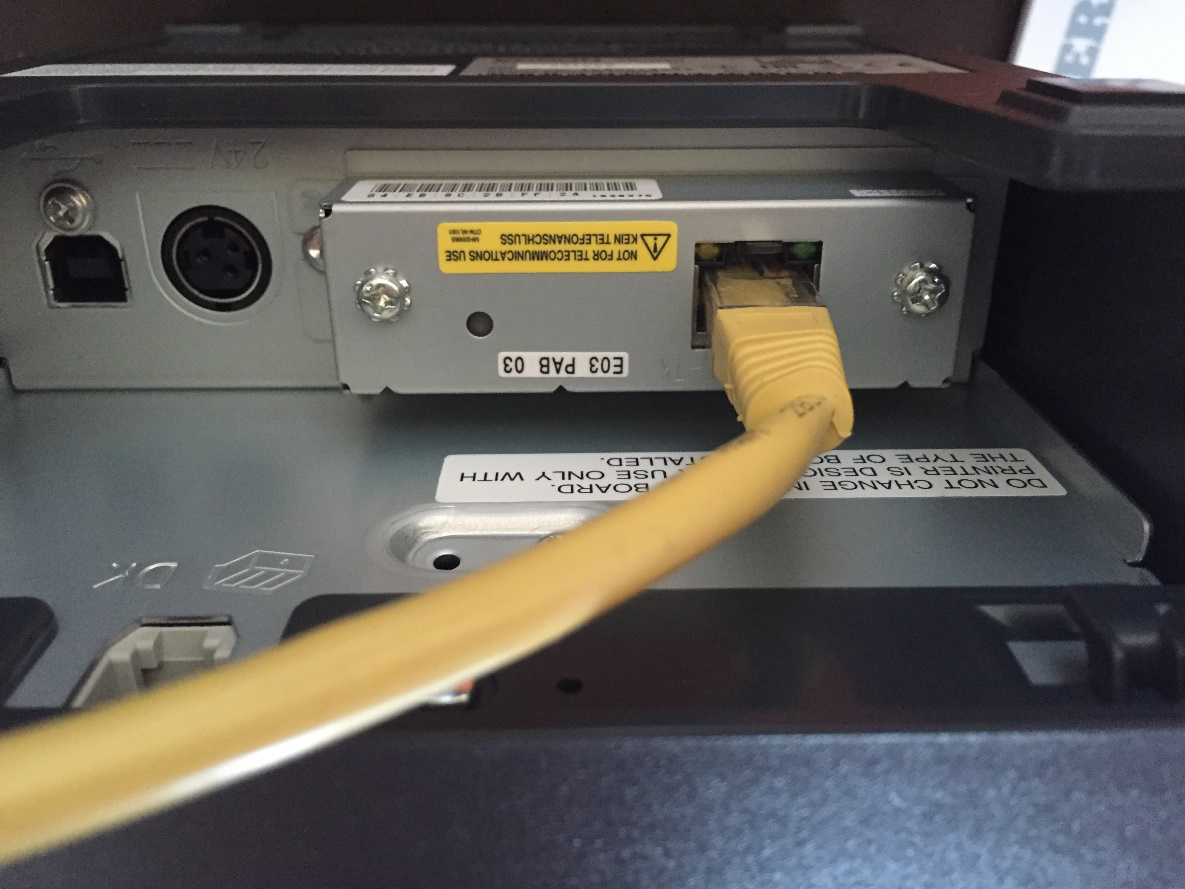
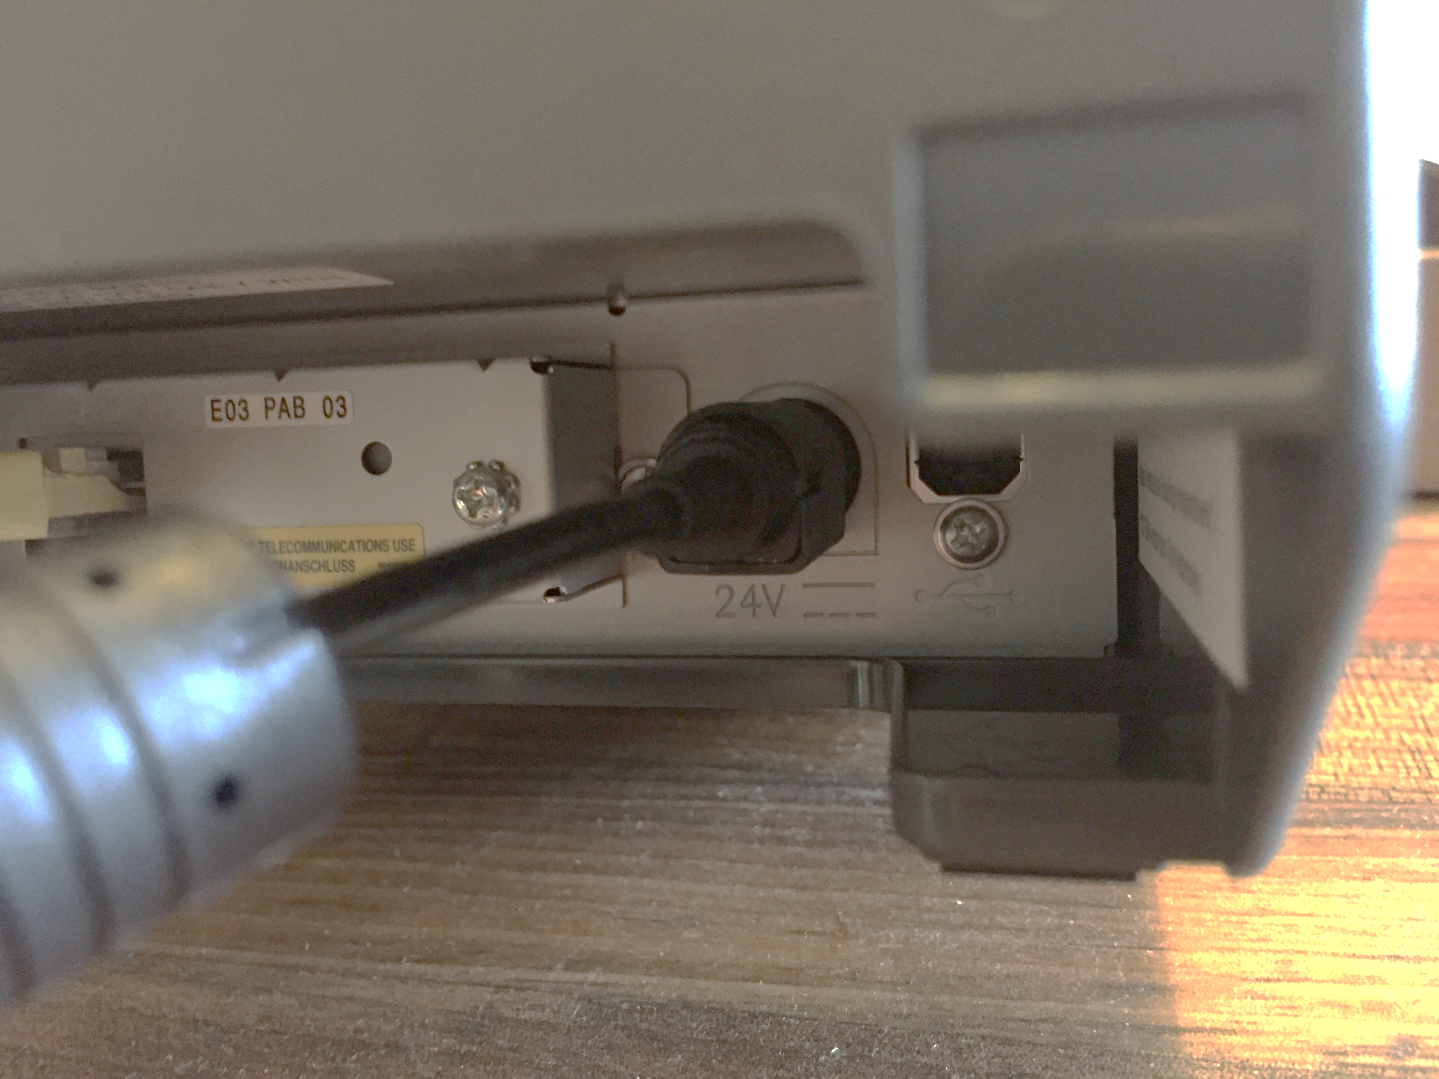
Connect the printer with a LAN cable and power supply.
Make sure your printer is connected to your modem/router using an Ethernet cable:

Then connect the printer to the power supply and switch it on.

Setting up the printer in the network
Now go back to the APD program. First, under Communication Settings, select Ethernet under Port Type.

Under IP Address you must now enter an IP address.
To find this, you need to search for the command prompt. You can do this easily by typing cmd in the Windows search box and pressing the Enter key:

The Command Prompt window will then open. Enter the command ipconfig and press the Enter key on your keyboard.
You will now receive all relevant information necessary to set up the printer. Make a note of the following numbers: IPv4 address, default gateway and subnet mask.

Once you have noted these down, go back to the Epson APD program.
For IP Address, use the IPv4 address you wrote down earlier. You now need to change the last digit of this IPv4. In our example, the IPv4 address is 192.168.0.19 5. The last digit is 5. Instead of 192.168.0.19 5, we now use a different number. For example, we use 8. So we now use 192.168.0.19 8. Once the address has been entered, click on Set to Printer .

The following window will now open. Here we configure the printer for the network. First click on Next .

You will now see the printer and an IP address that has been automatically assigned to it (marked in red in the following image). We need to change this IP address so that there are no problems with the printer connection and the ready2order app. We will explain how this works in the next step.

We now assign the IP address we entered earlier to the printer. To do this, click on the printer and then select Setting.

You will now receive the following warning. Confirm this with Yes.

Now you will come to the following input window. Here you enter the IP address you created previously . In our case, this is 192.168.0.198. Also enter the subnet mask and default gateway you noted down previously. Then click OK .

You will now receive the following message. Confirm this with Yes.

After this message, another message will appear. Simply confirm this with OK without entering anything.

Now wait about 30 seconds until the installation is complete. The following message will appear, which you can confirm with OK .

This is followed by the following message, which you can reject with No.

Now click on Save Settings .

You will now receive a message that the printer settings have been saved successfully and a question asking if you would like to print a test print. Select Yes to perform a test print.

A test print should now have come out of your printer and you can confirm the following message with OK .

Finally, select Close to close the APD program.

Congratulations. You have now successfully integrated your printer into your network. Now we need to add it to the ready2order app.
Add printer in the ready2order app
To connect the printer to the ready2order software, proceed as follows:
- Open the ready2order POS Windows app and log in.
- Click on the gear to go to the settings .
- Here you can add the printer to a new print profile or insert it into an existing profile.
- If you don't see this option, follow these steps first and then go back to POS .
Congratulations – your printer is ready to use!
