Connect MacOS device to printer via LAN/network

How to install your LAN printer on MacOS
To install the LAN printer, you need to know the following numbers:
- Your IP address
- Your subnet mask
- Your default gateway
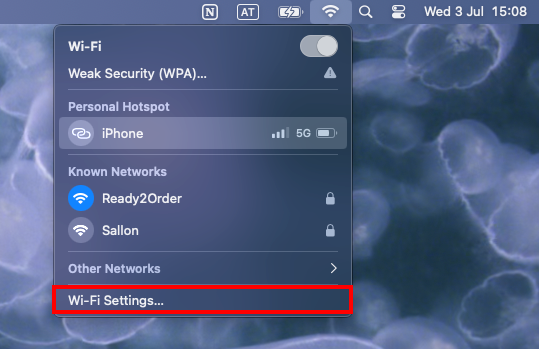
If you are using Mac OS X, you can read the router settings relevant to the printer configuration by first selecting the WIFI symbol in the top right corner of your screen.
Select Wi-Fi Settings...:
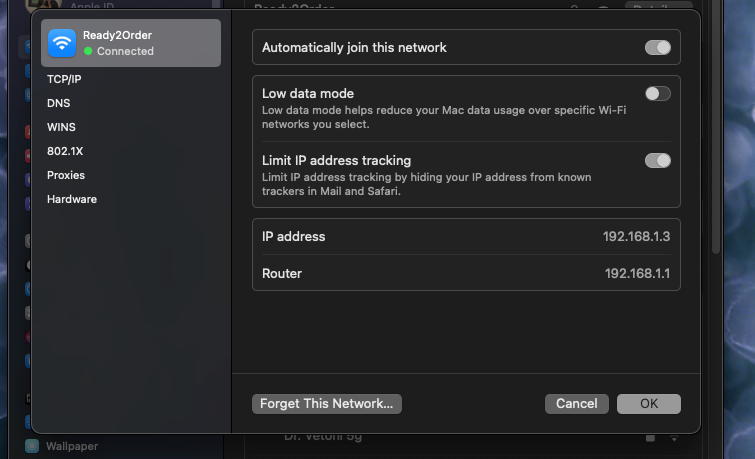
Click on Details ... and the window shown on the bottom of the following image will open:
Now select the TCP/IP tab:
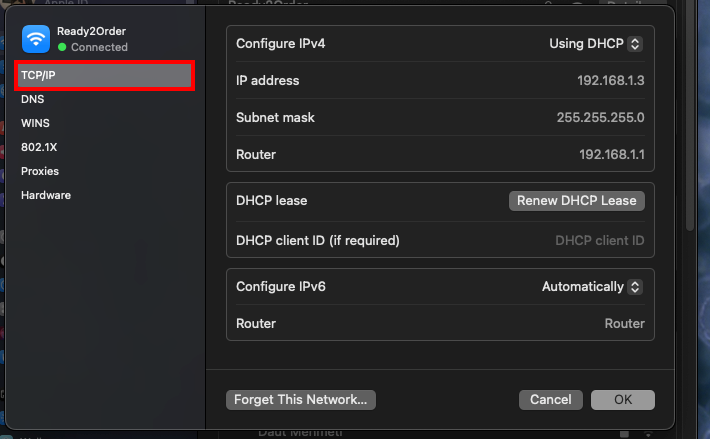
Here you can see the IP address , the subnet mask, which is called the subnet mask in Mac OS X, and the default gateway, which is called the router in Mac OS X.
Write down these three numbers.
How do I get the printer drivers for installation?
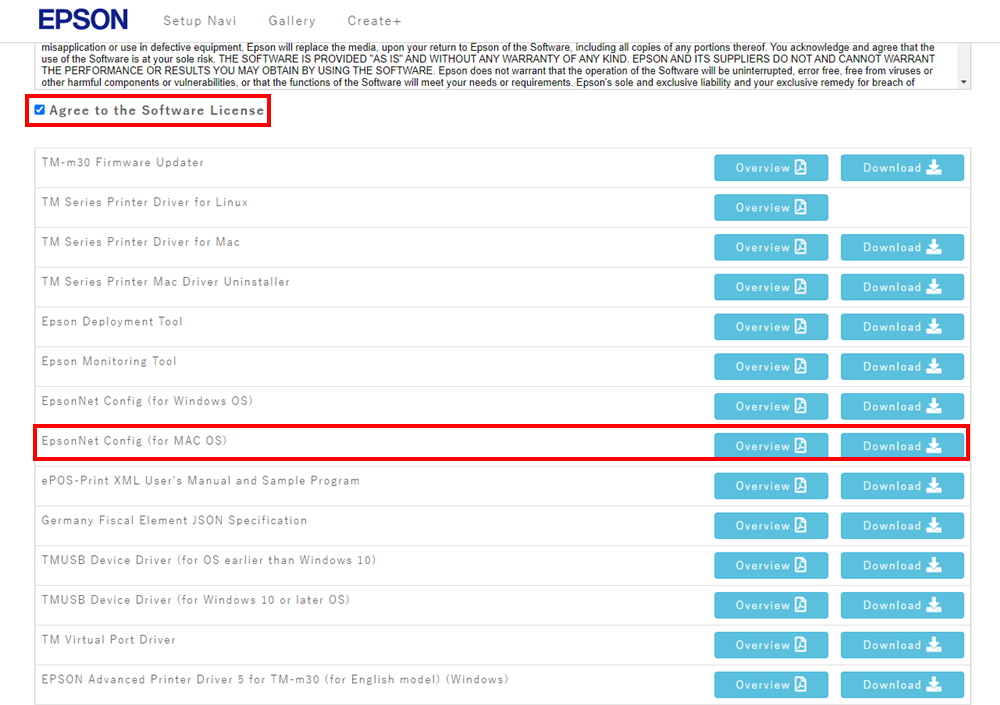
Visit the Epson download page and download EpsonNet Config (for MAC OS ). To do this, you must first accept the license terms by selecting "Agree to the Software License".
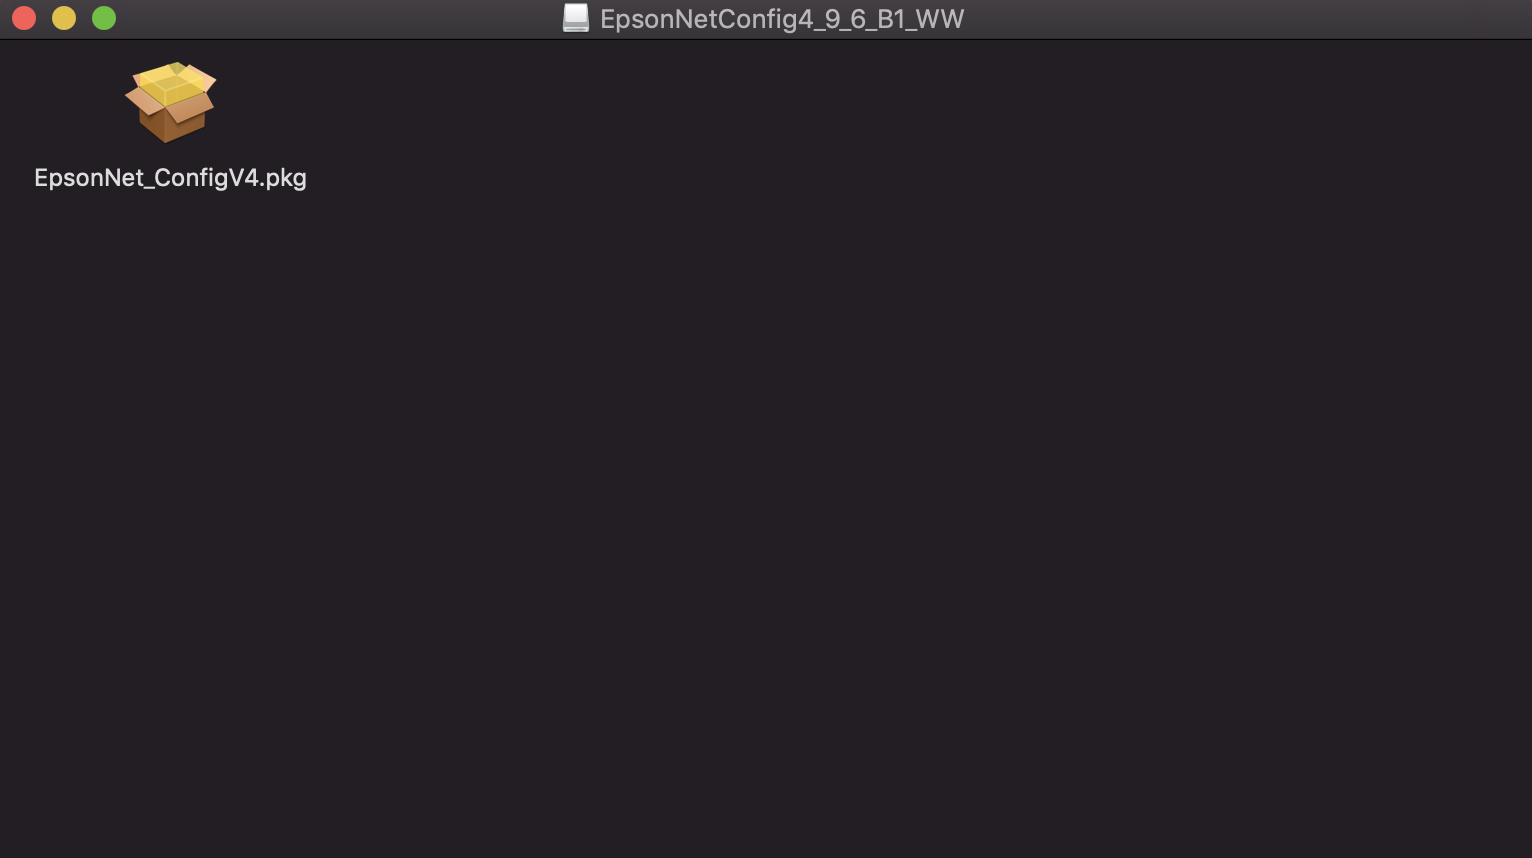
After downloading, you will find the downloaded file in your download folder. Double-click to install the file:

Now install the downloaded file by double-clicking on the icon:
Click on Continue to start the installation process.
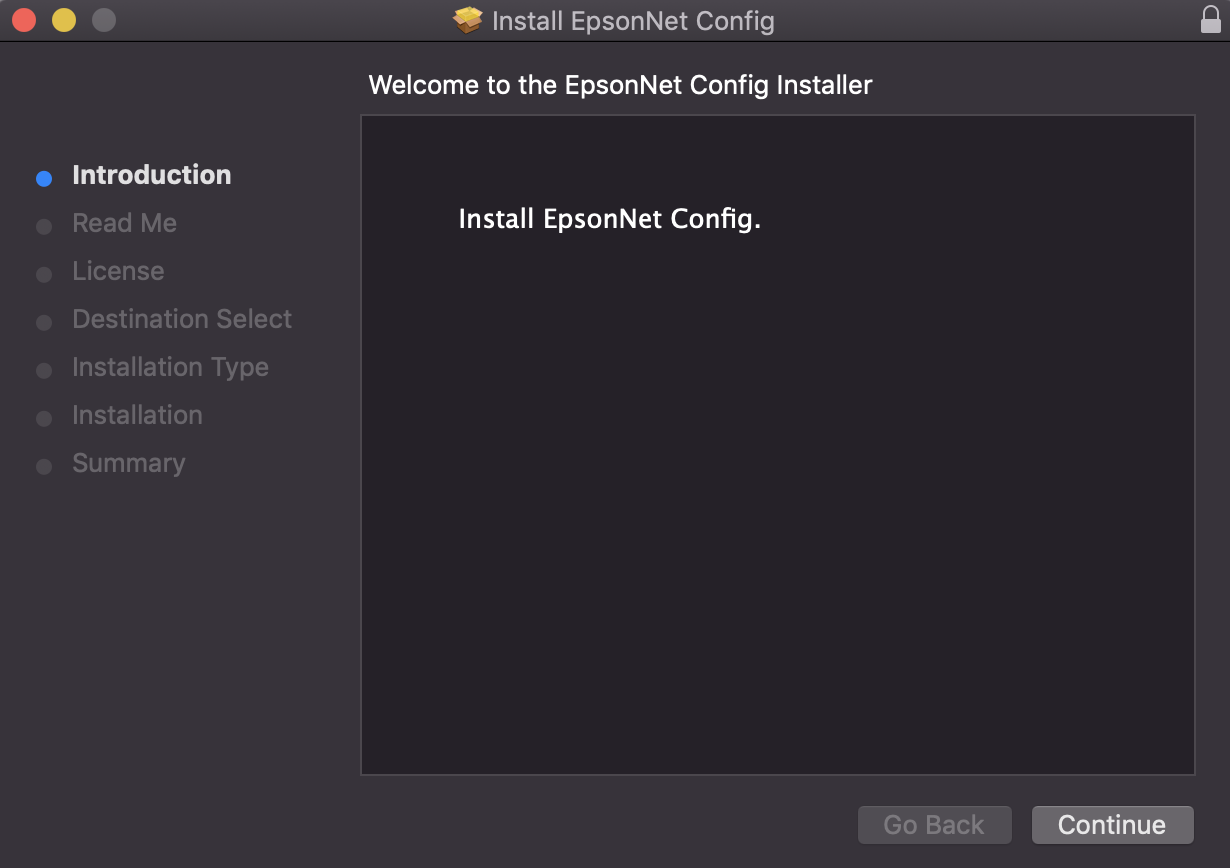
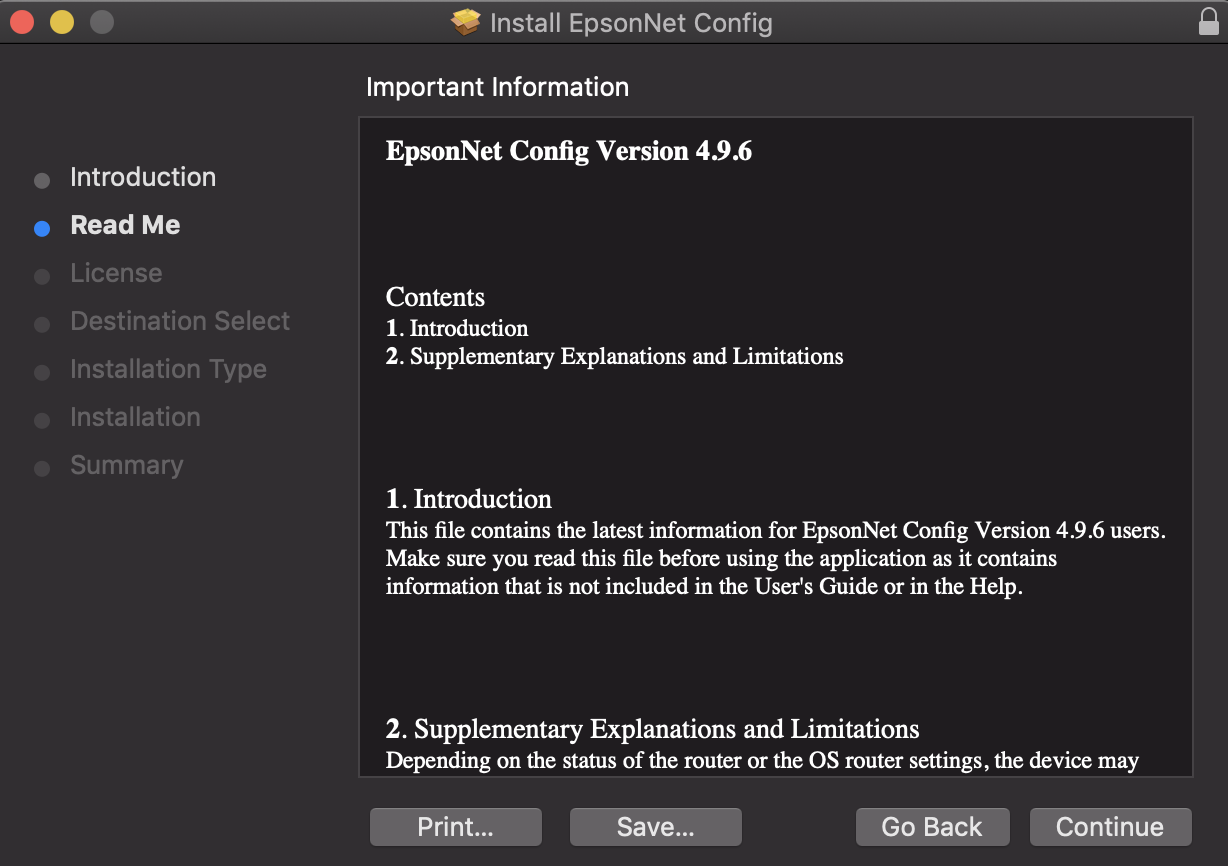
The first installation window offers you information about the software. Click Continue to go to the next step.
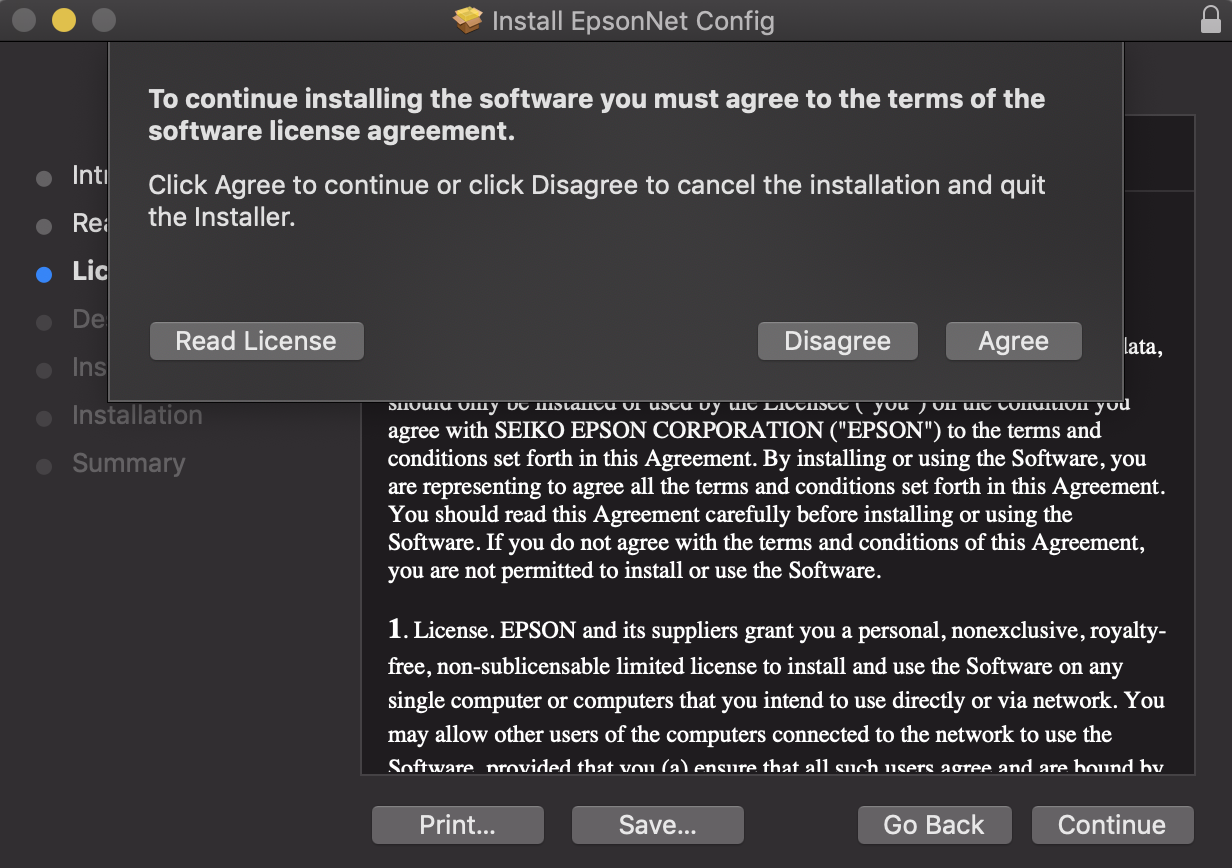
The next installation window shows you the license agreement. Click Continue to go to the next step.
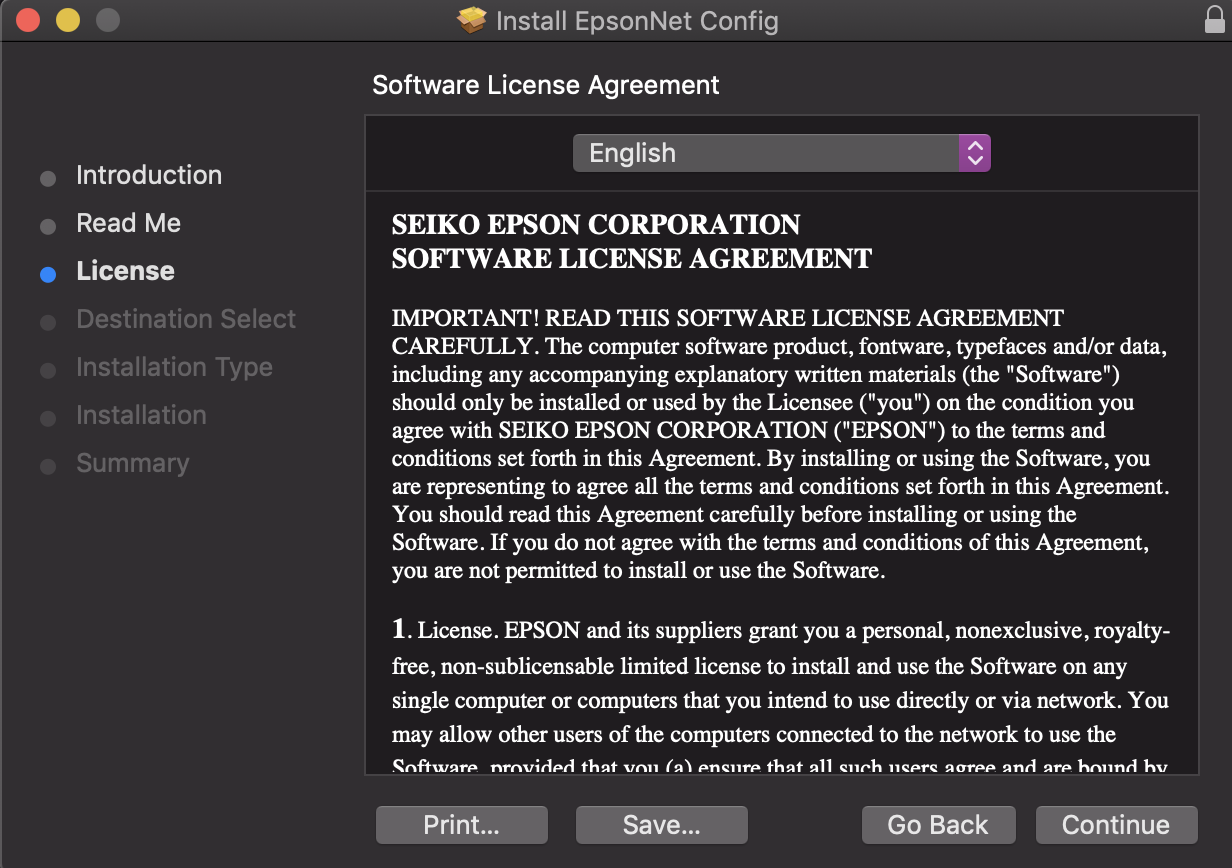
A pop-up will appear asking you to accept the license agreement. Once you do, click Agree.
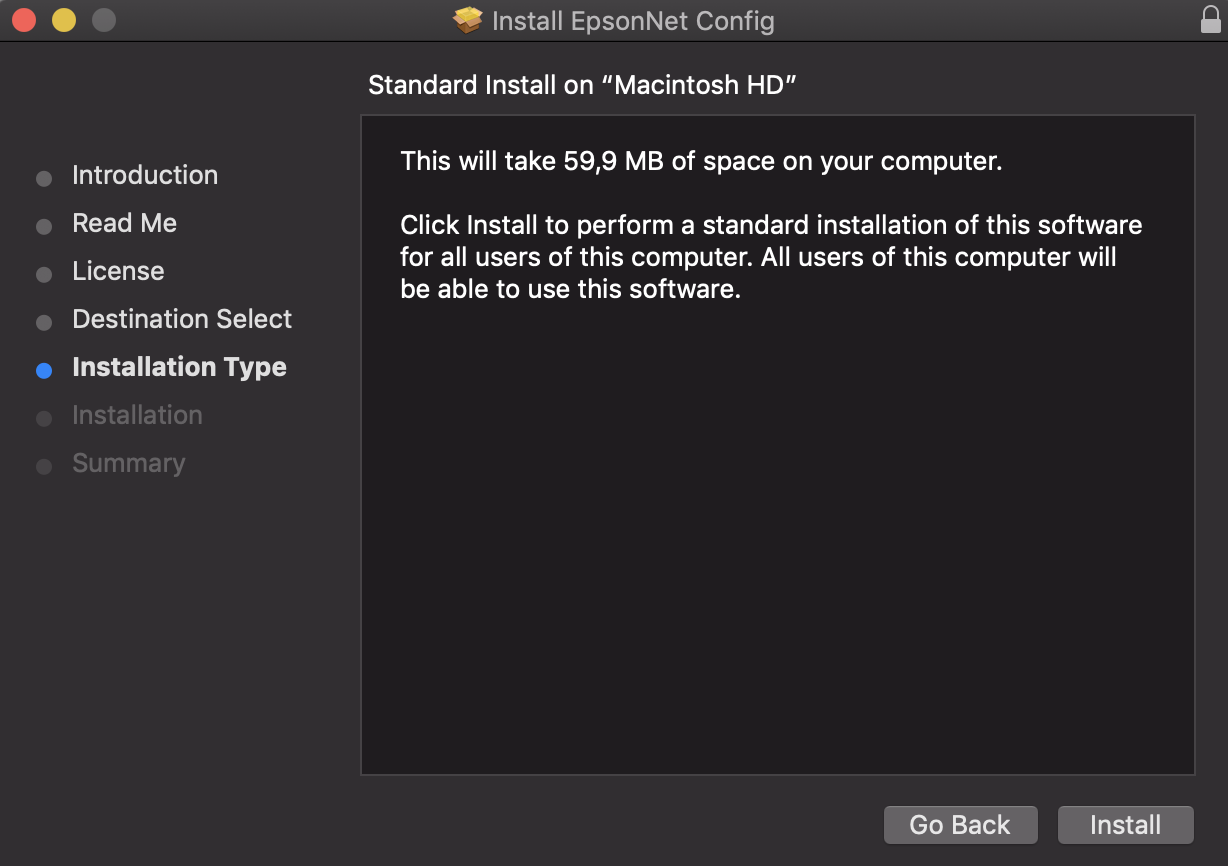
The software will now show you how much space it needs on your Mac. To start the installation, click Install.
Once the installation is complete, you will see the following screen:
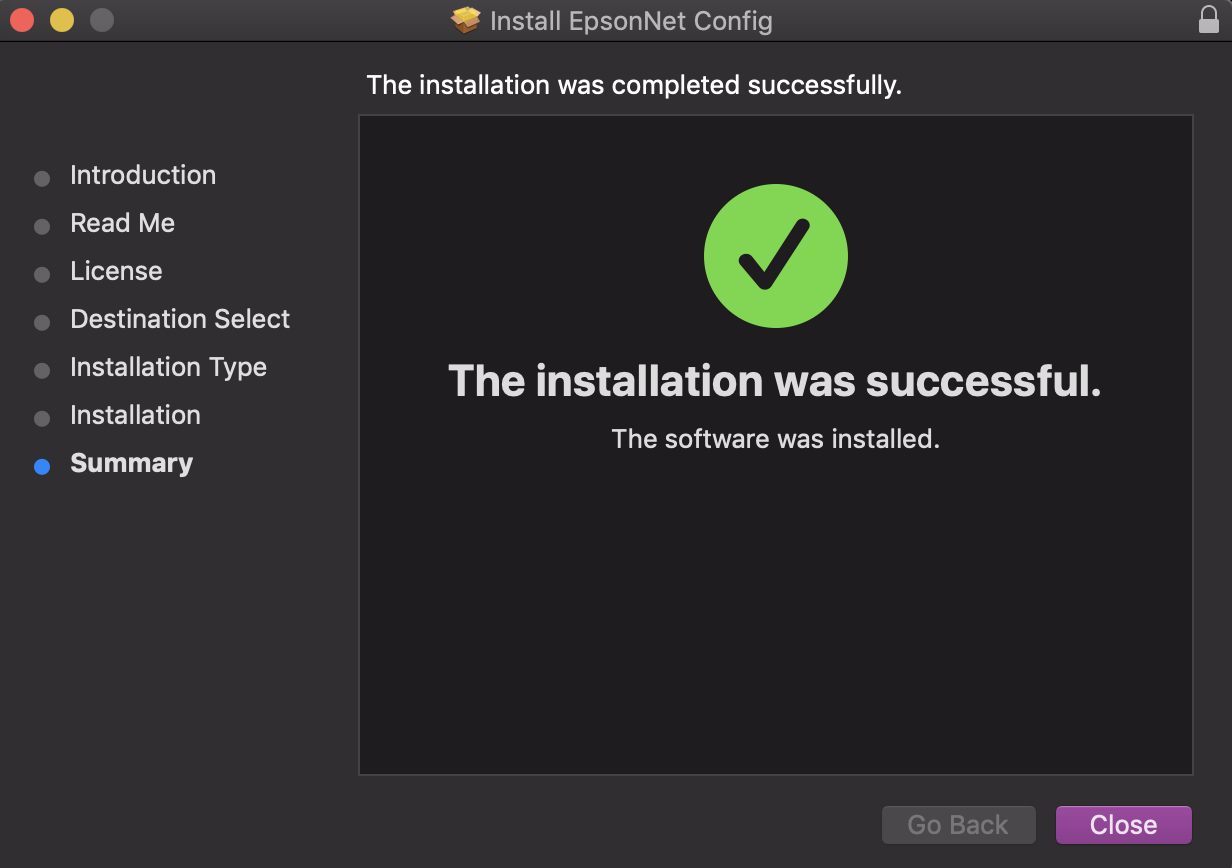
Click Close to complete the installation.
How do I proceed with the further LAN printer installation?
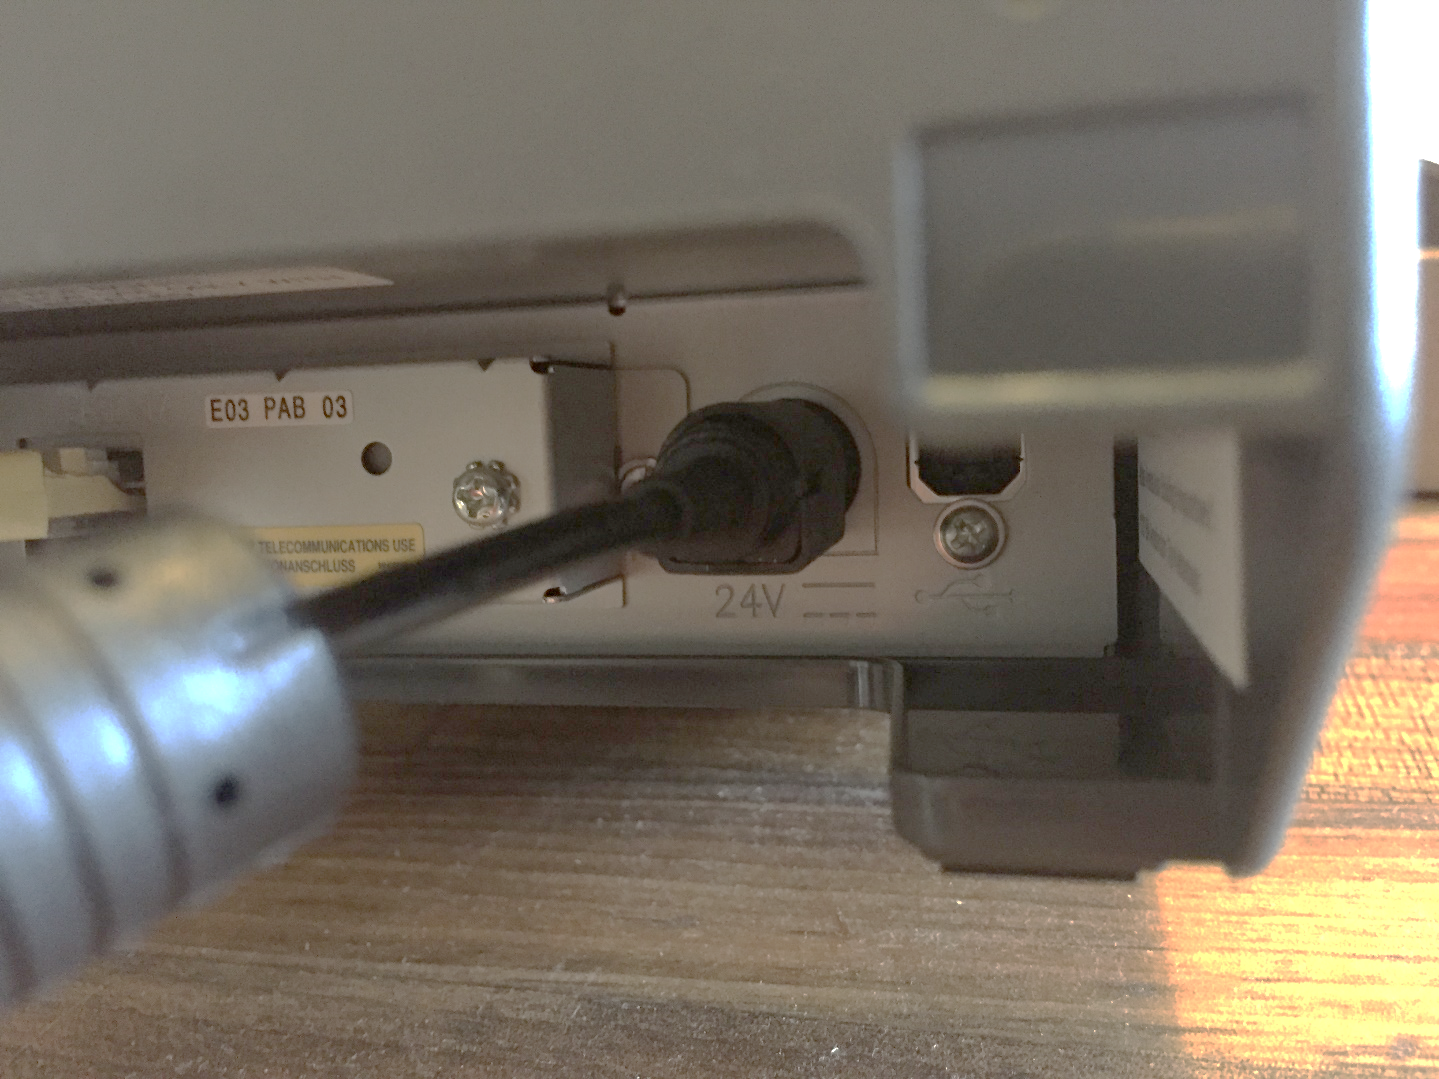
Make sure your printer is connected to your modem/router using an Ethernet cable:

And connect the printer to the power supply:
If you have connected your printer correctly, you will see a green LED indicator on the front of the printer and three LED network lights on the back.
Now you have to start the EpsonNet Config program you just installed on your Mac by using the search function of Mac OS X. To do this, simply type EpsonNet Config into the search field (Command + Enter).
Click EpsonNet Config displayed in the results list to start the program.
Now the configuration program starts, which shows you the printer that is now connected via Ethernet cable after clicking the Refresh button several times:
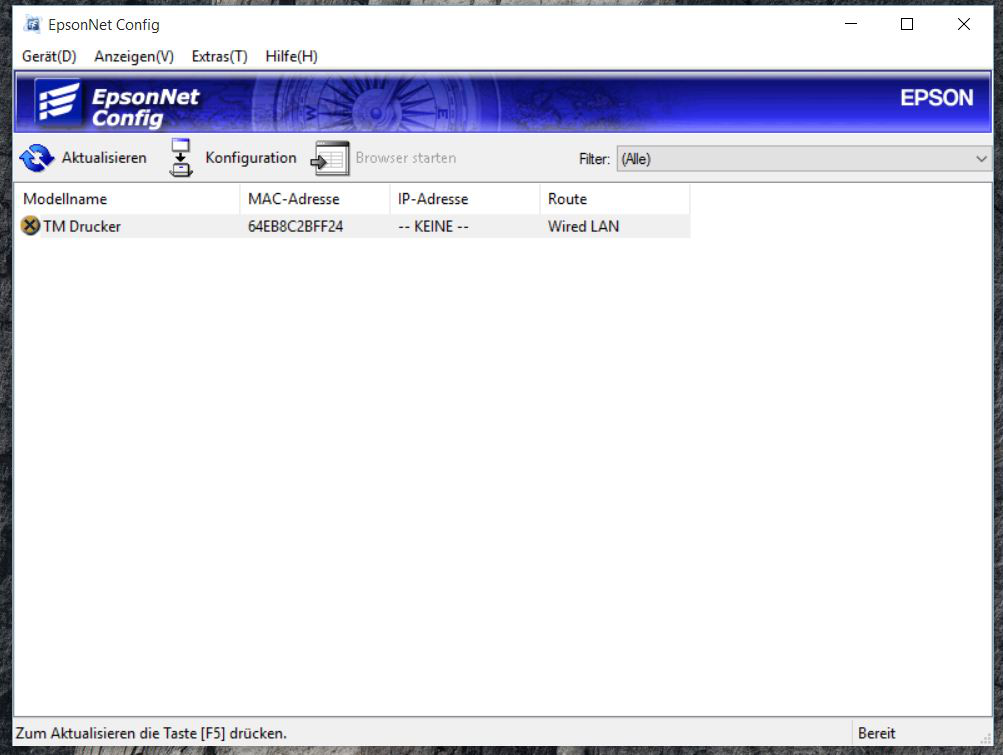
This process can take up to a minute, so please be patient at this point. (You may need to click the Refresh button several times.)
In the next step, you have to assign a static IP address to the printer. To do this, select the device properties by double-clicking on the displayed device.
Please switch to the TCP/IP > Basic Settings tab. Here you can enter the IP address settings manually. First enter the default gateway and the subnet mask that you have already noted down.
Which last digit to use for the IP address depends on your router:
- The default IP address of some routers starts at 192.168.0.20 – in this case you should use an IP address where the last digit is between .02 and .19.
- The default IP address of some routers is 10.0.0.138 – in this case you should use an IP address with the last digit lower than 138.
Enter all values under the IP address settings .
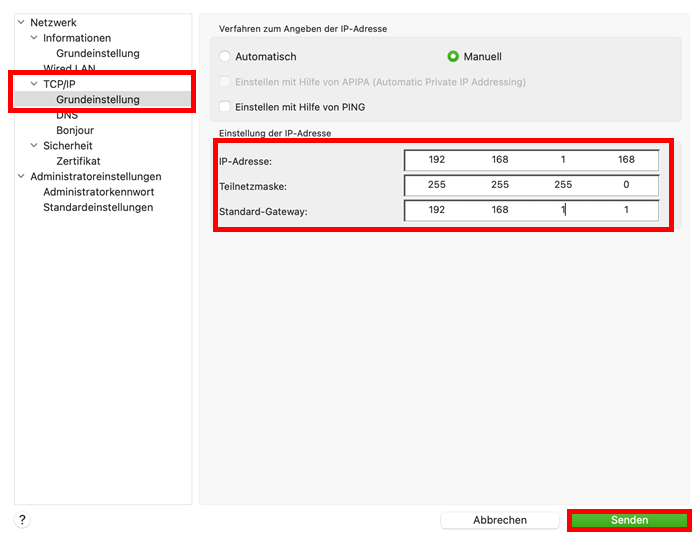
Then click Send.
Next, you will be informed that your printer should not be used during the configuration. Confirm this with OK and wait until the configuration has been completed successfully.
You can now accept the successful configuration by clicking OK .
Your printer is fully configured when you click the Update button.
Finally, the printer will be displayed with its assigned IP address:
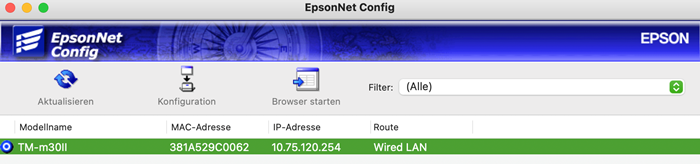
Once the printer configuration is complete and your screen looks like the screenshot above, you must click the Refresh button again.
Now you need to make the following settings on your Mac:
- Open the settings on your Mac
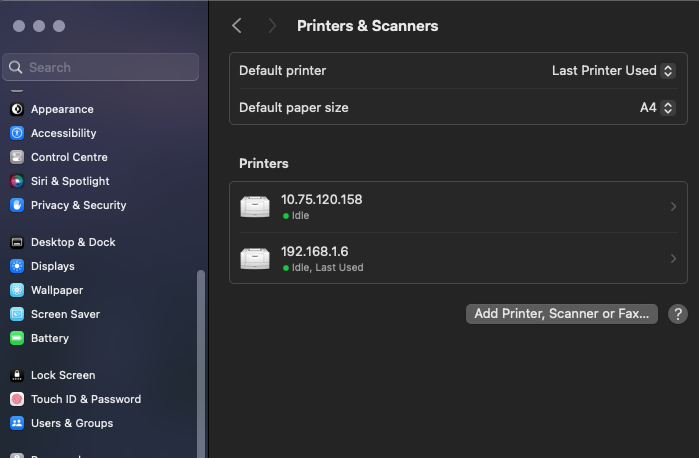
- Click on Printers & Scanners
- Click Add printer, scanner or fax... at the bottom right.
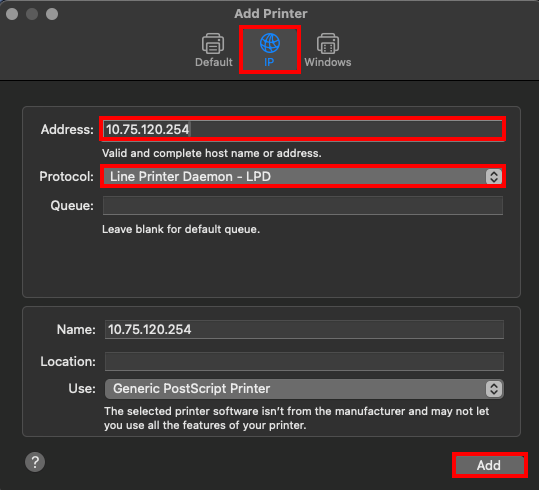
- In the window that opens, select the globe symbol in the middle at the top and enter the IP address that you previously selected in Epson NetConfig under Address. Under Protocol, select Line Printer Daemon - LPD. Then click Add.
- The printer is now added.

- If the printer is now restarted, it is ready for use.
Connect the printer to your ready2order software
To connect the printer to the ready2order software, proceed as follows:
- Open the ready2order POS Mac OS app and log in.
- Click on Settings (gear).
- You can now add the printer to either a new or existing print profile under Printers.
Congratulations – your printer is ready to use!