How can I create and manage price levels?
Price levels allow you to define different prices for the same products – depending on the customer, customer group, table, area, or employee. This is especially useful if you want to automatically apply discounts for regular customers, set up happy hour prices, or define different prices for different areas (e.g. terrace vs. indoor seating). In this guide, we show you how to activate, create, and use price levels.
Requirement: Activate price levels
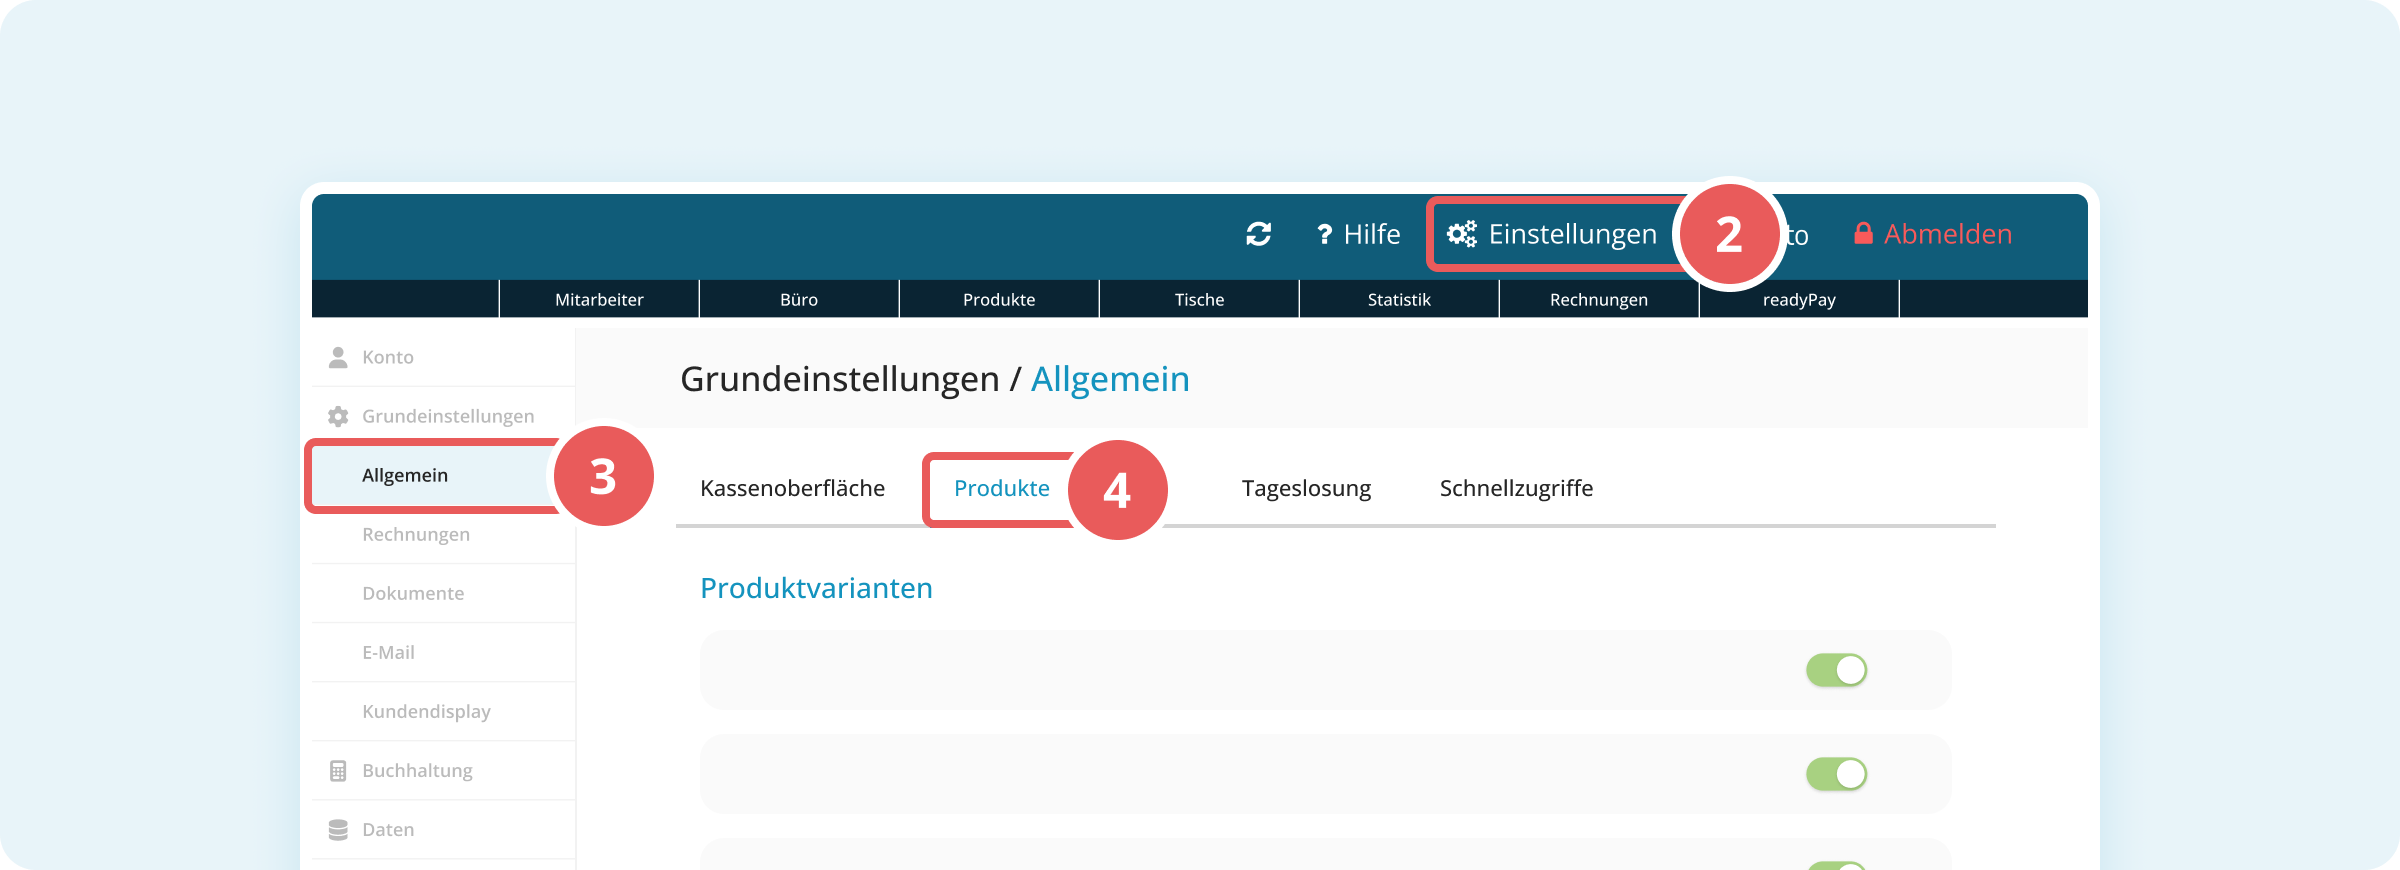
Before you can use price levels, you need to activate them in the administration interface.
Step-by-step:
- Log in to the administration interface.
- Click on Settings (gear icon) in the top right.
- In the left sidebar, under Basic settings, click on General.
- Switch to the Products tab.
- In the Price levels section, enable the toggle for Use custom price levels.
The changes are saved automatically. The price level feature is now activated and can be used for products.
Create custom price levels
After activating the price level feature, you can create your own price levels.
Step-by-step:
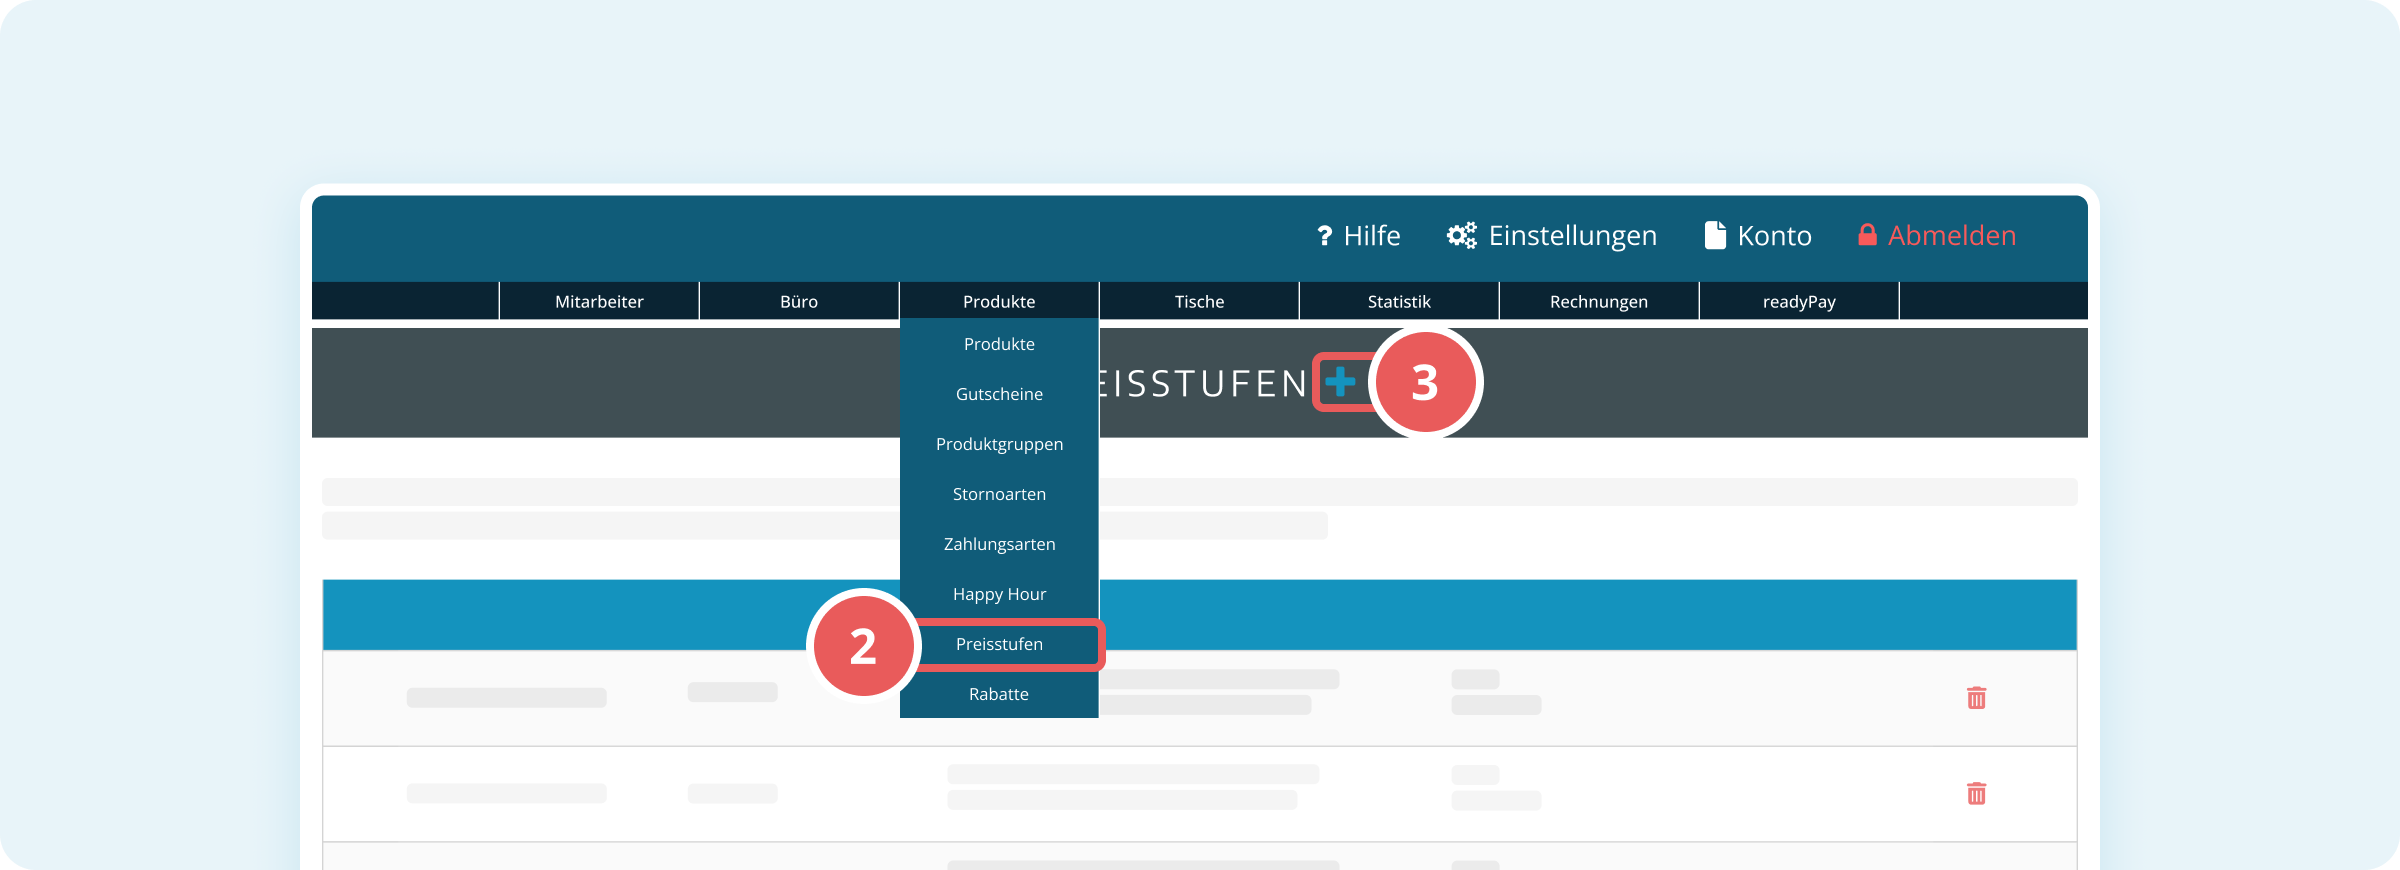
- Log in to the administration interface.
- Hover over Products in the main navigation and click on Price levels in the dropdown.
- Click on the blue plus icon (+) next to the heading “PRICE LEVELS”.
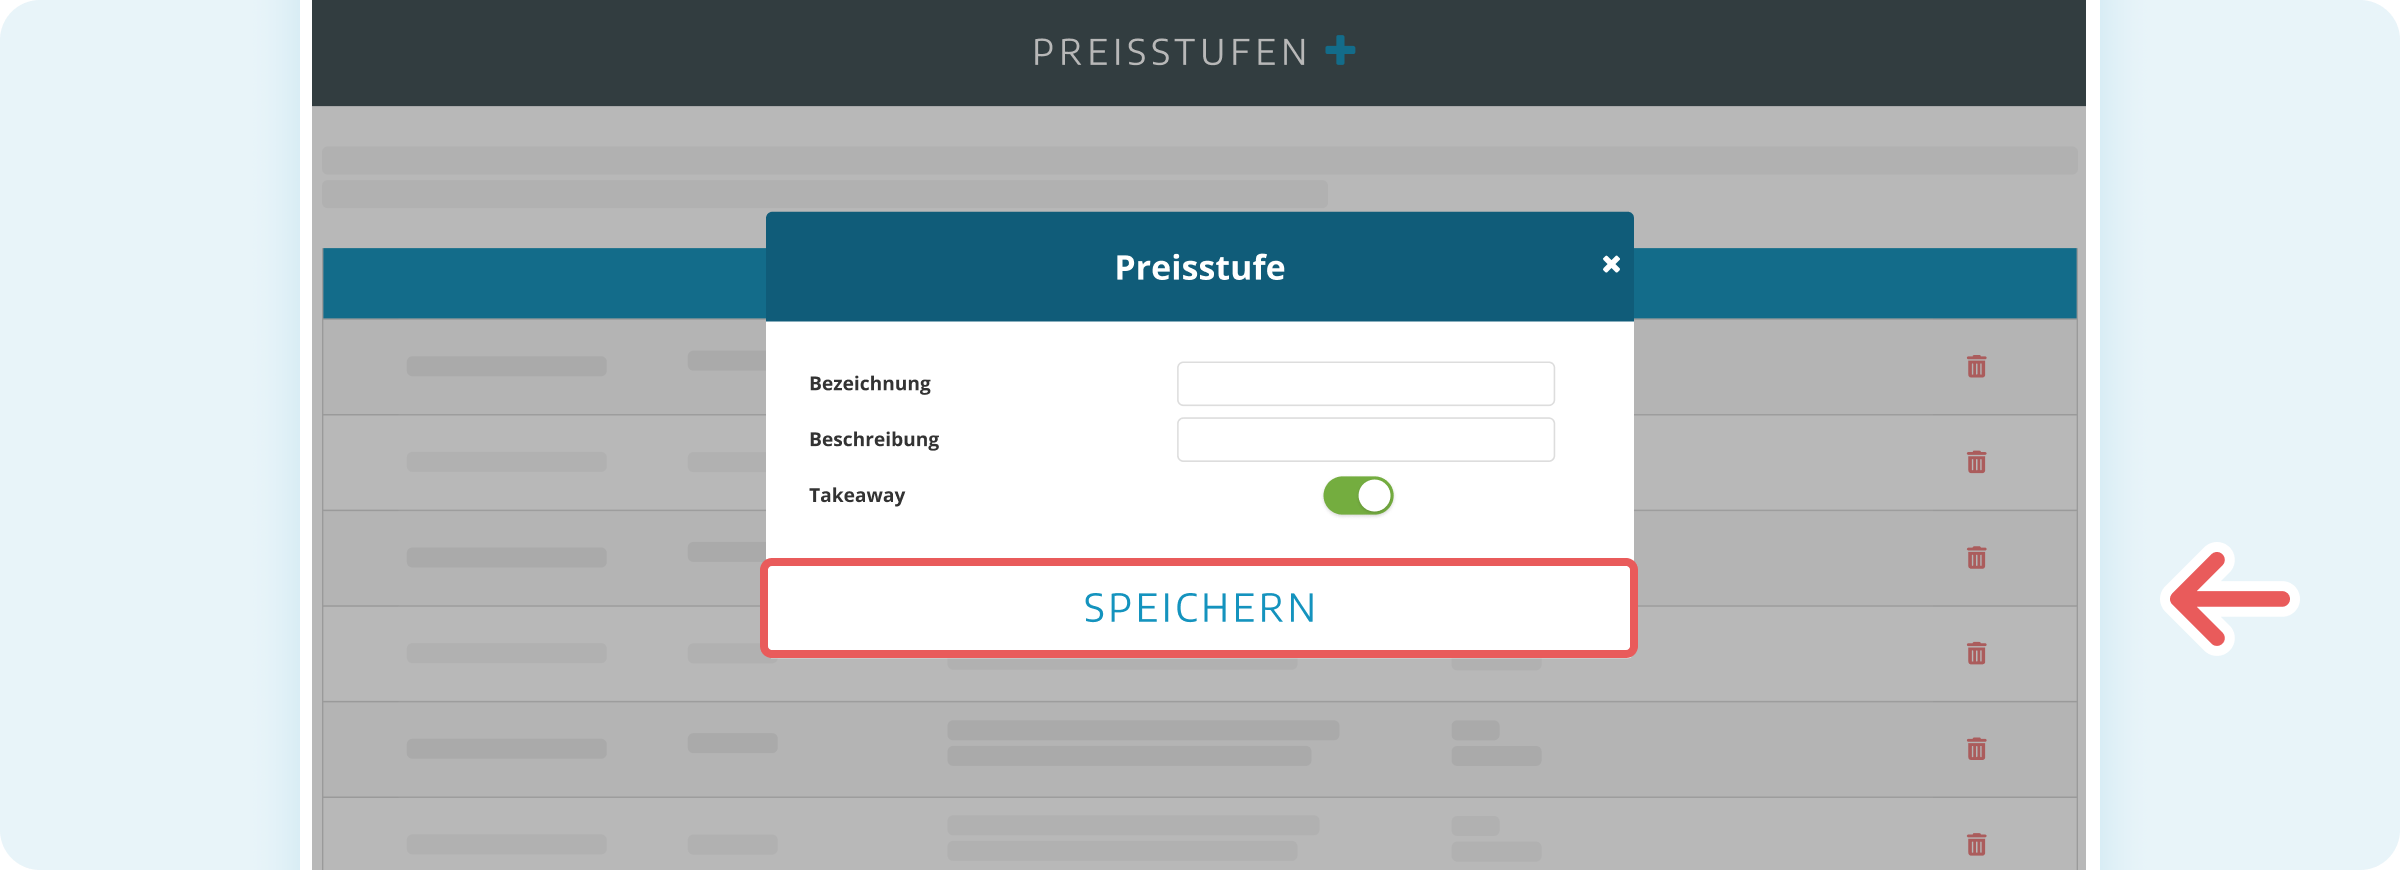
- Fill in the following required fields in the dialog:
- Name
- Description
- Take-away
- Click on SAVE.
The new price level appears immediately in the list and can now be assigned to products.
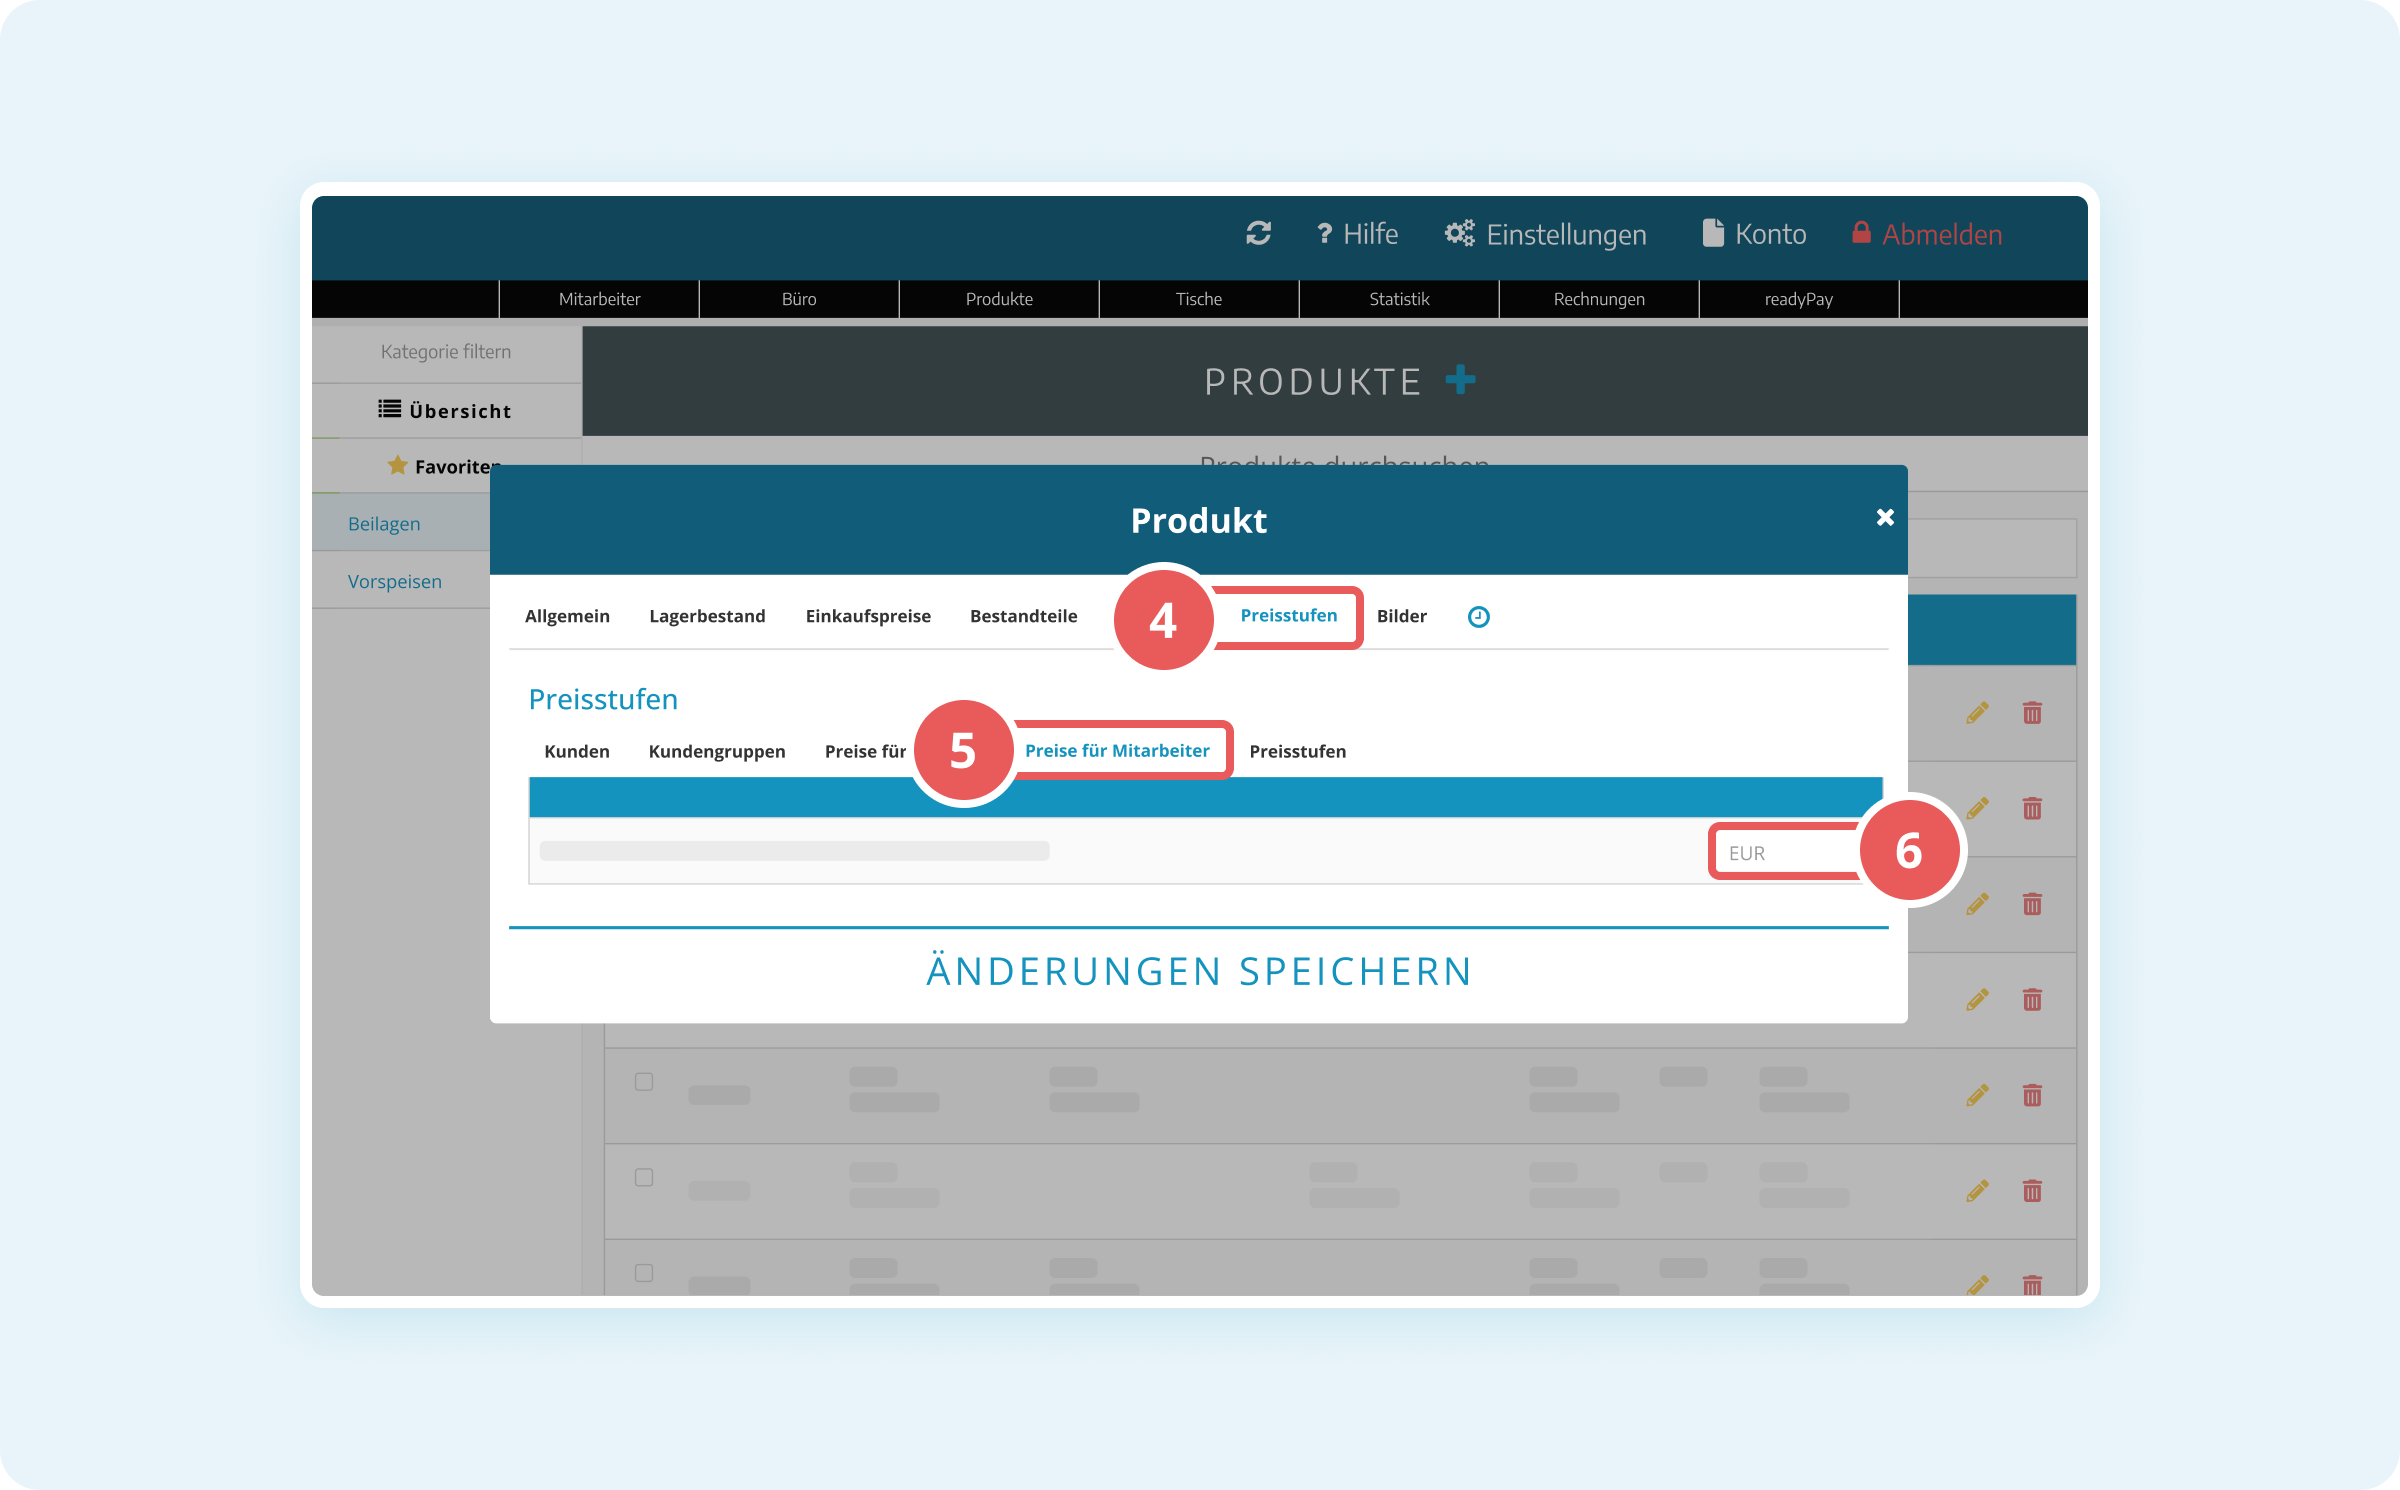
Set price levels for a product
After activating the price level feature, you can define price levels for individual products.
Step-by-step:
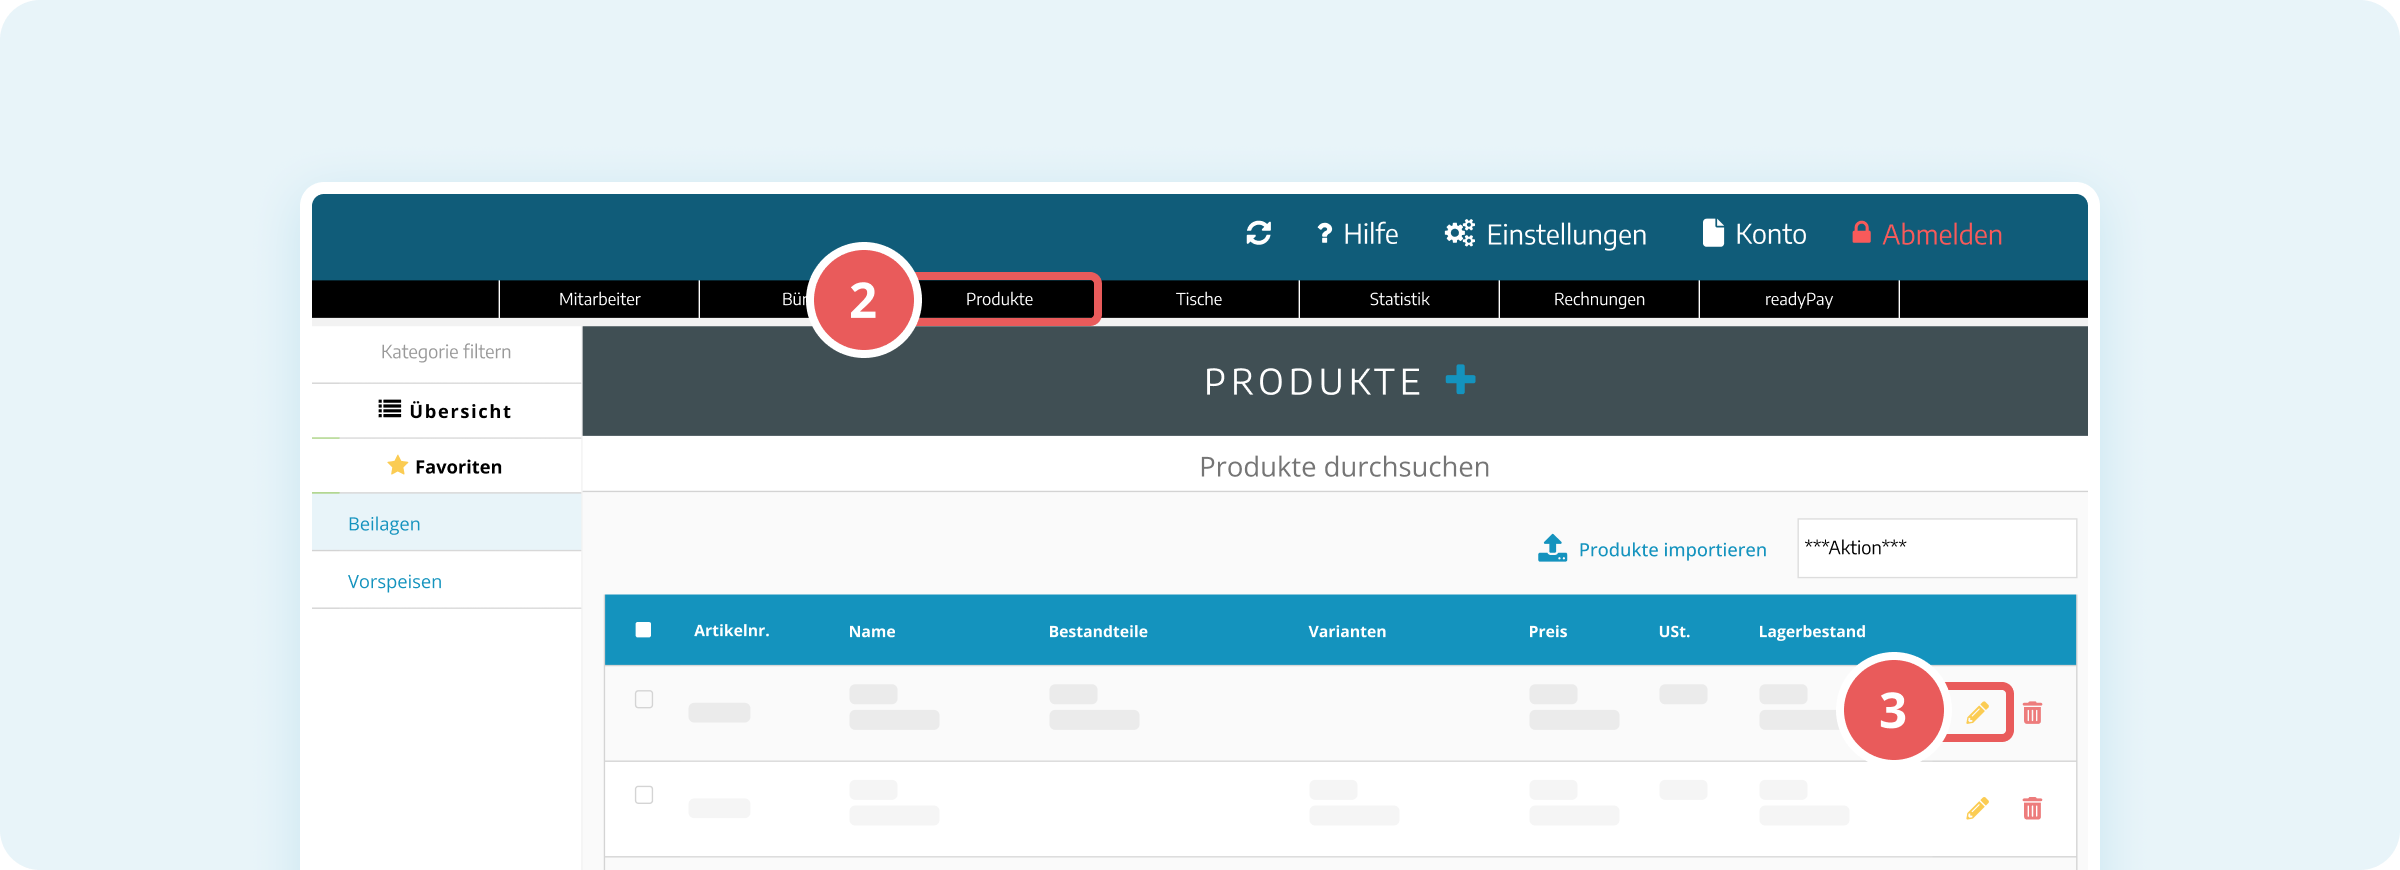
- Log in to the administration interface.
- Click on Products in the main navigation.
- Select the product in the list for which you want to define a price level.
- In the product dialog, click on the Price levels tab.
- Select the desired category from the following tabs:
- Customers: Individual prices for specific customers
- Customer groups: Prices for defined customer groups (e.g. regulars, VIPs)
- Prices for tables: Special prices for specific tables
- Prices for areas: Different prices for areas (e.g. terrace, indoor)
- Prices for employees: Employee-specific prices
- Price levels: Custom, freely definable price levels
- Enter the desired price in the respective field.
- The changes are saved automatically.
Set price levels for multiple products at once
You can also assign price levels to multiple products at once.
Step-by-step:
- Log in to the administration interface.
- Click on Products in the main navigation.
- Select the checkboxes next to the products you want to edit.
- Click on More bulk actions above the product table.
- Select Set custom price levels from the dropdown menu.
- Select the desired price level from the Price level dropdown.
- Click on Add.
- Enter the desired tax rate in the Tax rate field.
- The changes are saved automatically.
How price levels work in the POS
Automatic price application
Once you have defined price levels, they are automatically applied in the POS when the corresponding condition is met:
- Customer price: Applied when you add a customer with a price level to the order
- Table price: Applied when you select a table with a price level
- Area price: Applied when you select a table in an area with a price level
Priority logic of price levels (advanced)
If you have defined multiple price levels for a product, ready2order checks them in a fixed order and applies the first matching price level:
- Price for user (employee): If a price level exists for the logged-in user, this price is applied.
- Price for customer: If no user price level is defined, the system checks for a price level for the customer.
- Price for customer groups: If neither user nor customer prices are defined, the price level for the associated customer group is checked.
- Price for tables: If none of the above applies, the system checks the price for a specific table.
- Price for table areas: If no table price level is defined, the price level for the associated table area is applied.
- Standard price: If none of the above price levels are available, the standard price from the product details is used.
A regular customer is sitting at table 5 in the “Terrace” area and orders a cola.
The system checks: Is there a user price? → NO.
The system checks: Is there a customer price? → YES (€2.50 for regular customers).
Result: The customer price of €2.50 is applied, even if table 5 or the “Terrace” area would have different prices.
Frequently asked questions
Can I assign multiple price levels to one product?
Yes, you can define multiple price levels for a product (e.g. customer price AND area price). The system will apply the price level with the highest priority (see priority logic above).
Can I define price levels for product variants?
Yes, price levels can be defined for both main products and individual variants.
What happens if I select a customer and a table at the same time?
The system applies the price level with the highest priority. In this case, the customer price would take precedence over the table price.