Create tables and create areas
With the table function you can create new areas, add tables and much more.
To use the table function, you need a Gastro package!
Overview of table function
To get to the table view, you may need to do the following: Go to the Admin Interface and click on settings in the top right. Go to company data, then to business premises (readyAccount) and change the mode from retail trade to gastronomy. The tables will now be displayed. Please also note that the business address and contact details must be filled in.
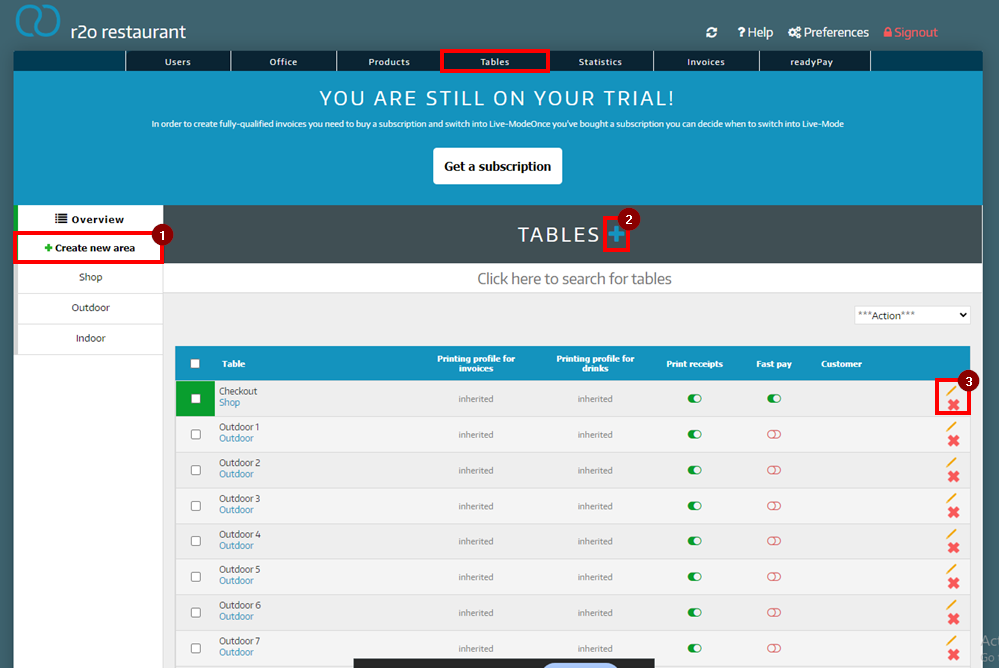
To get an overview, we will show you what you can do with the table function.
- Create new area
First you create a new area. Areas are e.g. smoking area and non-smoking area or garden and indoor - tables +
If you have already added areas, you can fill them with tables - Editing and deleting
Here you can edit or delete tables that have already been created
Create new table area
To create a new area, proceed as follows:
- Click on tables
- Click on create new area
- Enter a name for the area
- Select a beverage printer, if available
- Select an invoice printer, if available
Create tables
There are two ways to create tables in areas.
1st option: Create a new table
- Click on tables
- Click on the blue + next to tables
- Enter a name and description
- Select an already created area
- If necessary, choose a color for the table
- Click Save
2nd option: Create multiple tables in one area
- Click on tables
- Select an area
- Prefix: Enter a name
- Base: Choose a number from which the tables start counting
- Start number: Enter a start number
- End number: Enter an end number
- Click on create tables
If you want the numbers to start at 1, enter 0 for base.
Create a table with the checkout function (direct sales)
If the checkout function is set for a table, this means that the table is billed immediately. An order is not taken and then billed as usual.
To activate the checkout function at a table, proceed as follows:
- You click on tables
- You select the area in which the table with the checkout function should be located
- You select the pen to edit the table, in our example Table 1
- You click on settings
- Now activate the checkout mode
- Click Save
With the Gastro subscription, please note that product discounts and price levels can ONLY be awarded at checkout tables!
In the settings you can also make other adjustments, such as direct payment upon order acceptance or printer links.
Did you know that our AI assistant readyBot can also answer your support requests via chat? Click here to access the chat.