Create, manage and sell vouchers in the Admin Interface
Vouchers are a popular way to retain customers and generate additional revenue – whether as a gift idea, a customer loyalty measure or for special occasions. In ready2order, you can create and manage vouchers directly in the Admin Interface and then sell them via the POS.
Create a new voucher for sale
Use this function to create a voucher that you can then sell to customers via the POS. When creating it, you need to specify whether it is a single-purpose or multi-purpose voucher – the difference lies in how tax is handled.
- Log in to the Admin Interface.
- Hover over Products in the main navigation and select Vouchers from the dropdown menu.
- In the main area, click the blue plus icon to the right of the VOUCHERS heading.
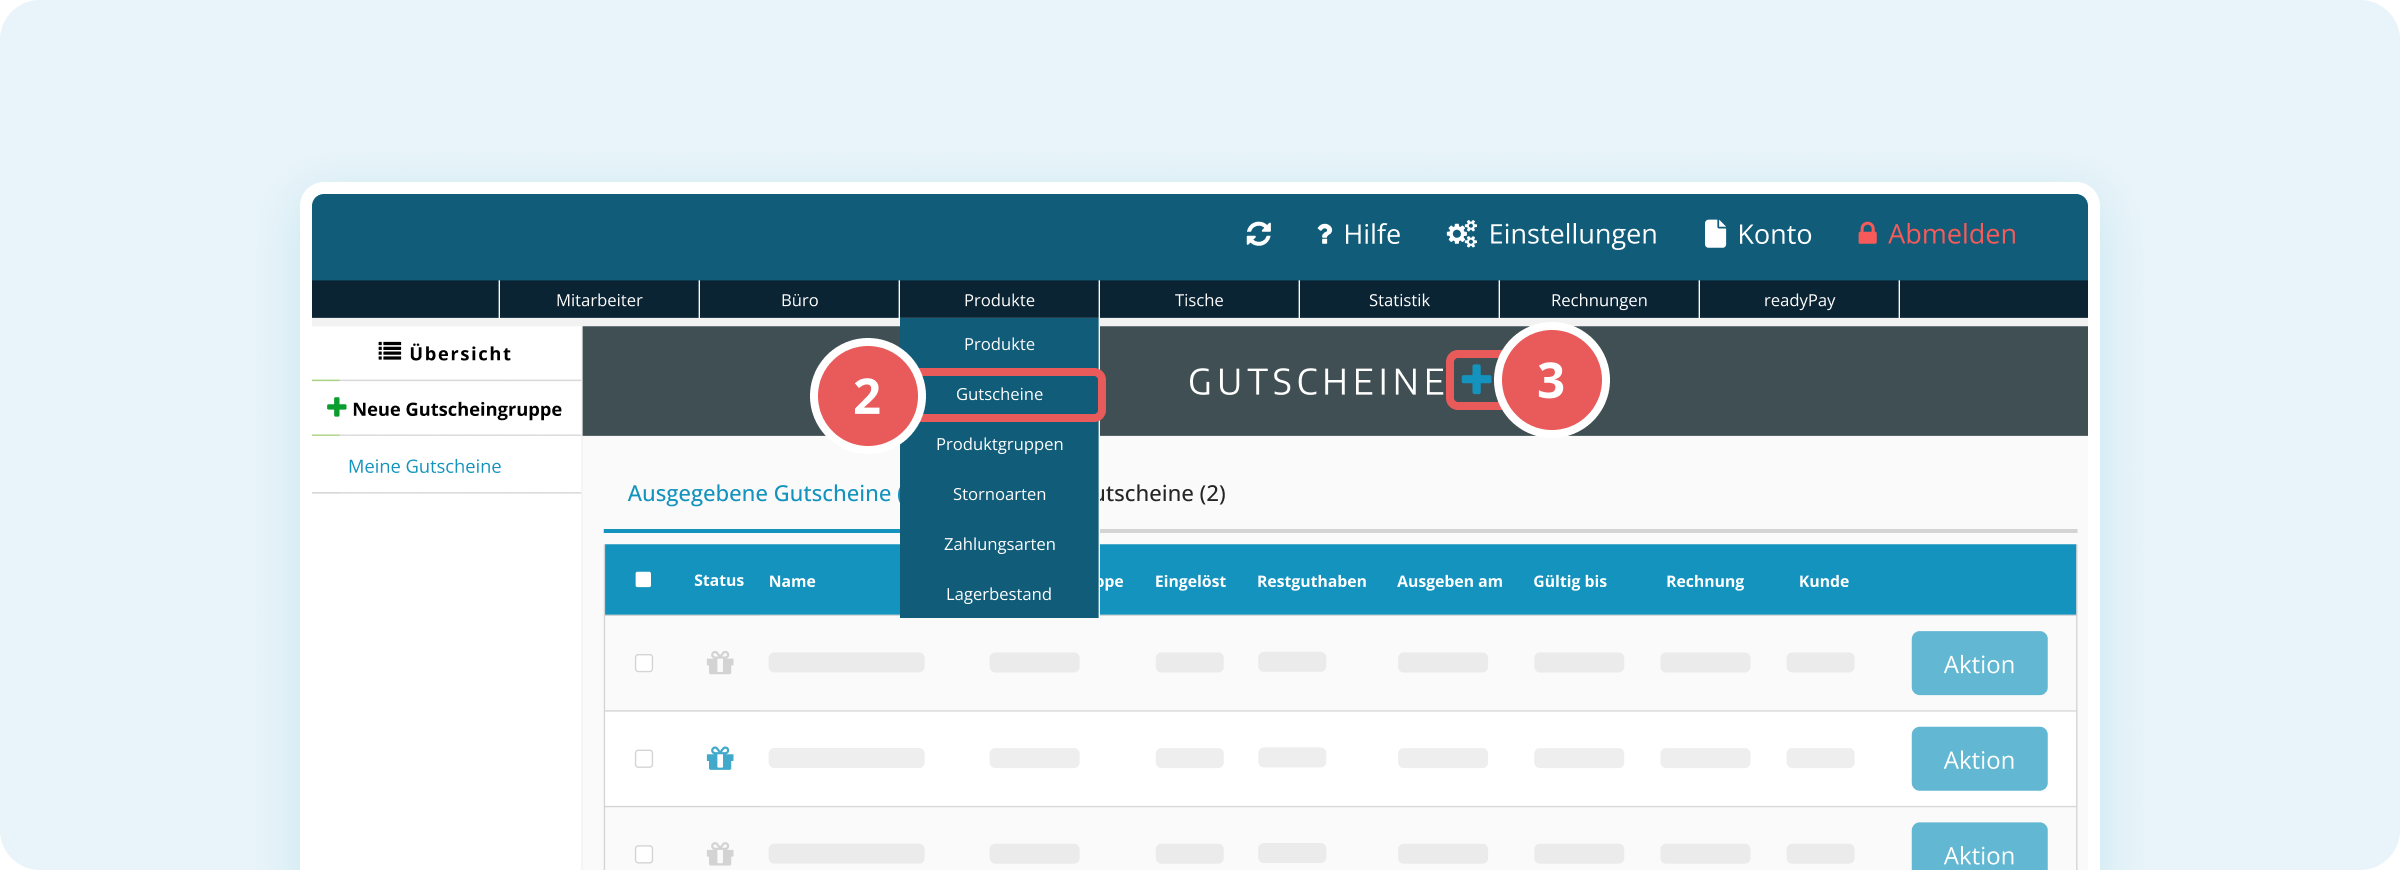
- In the Voucher menu dialog, click Create new voucher for sale.
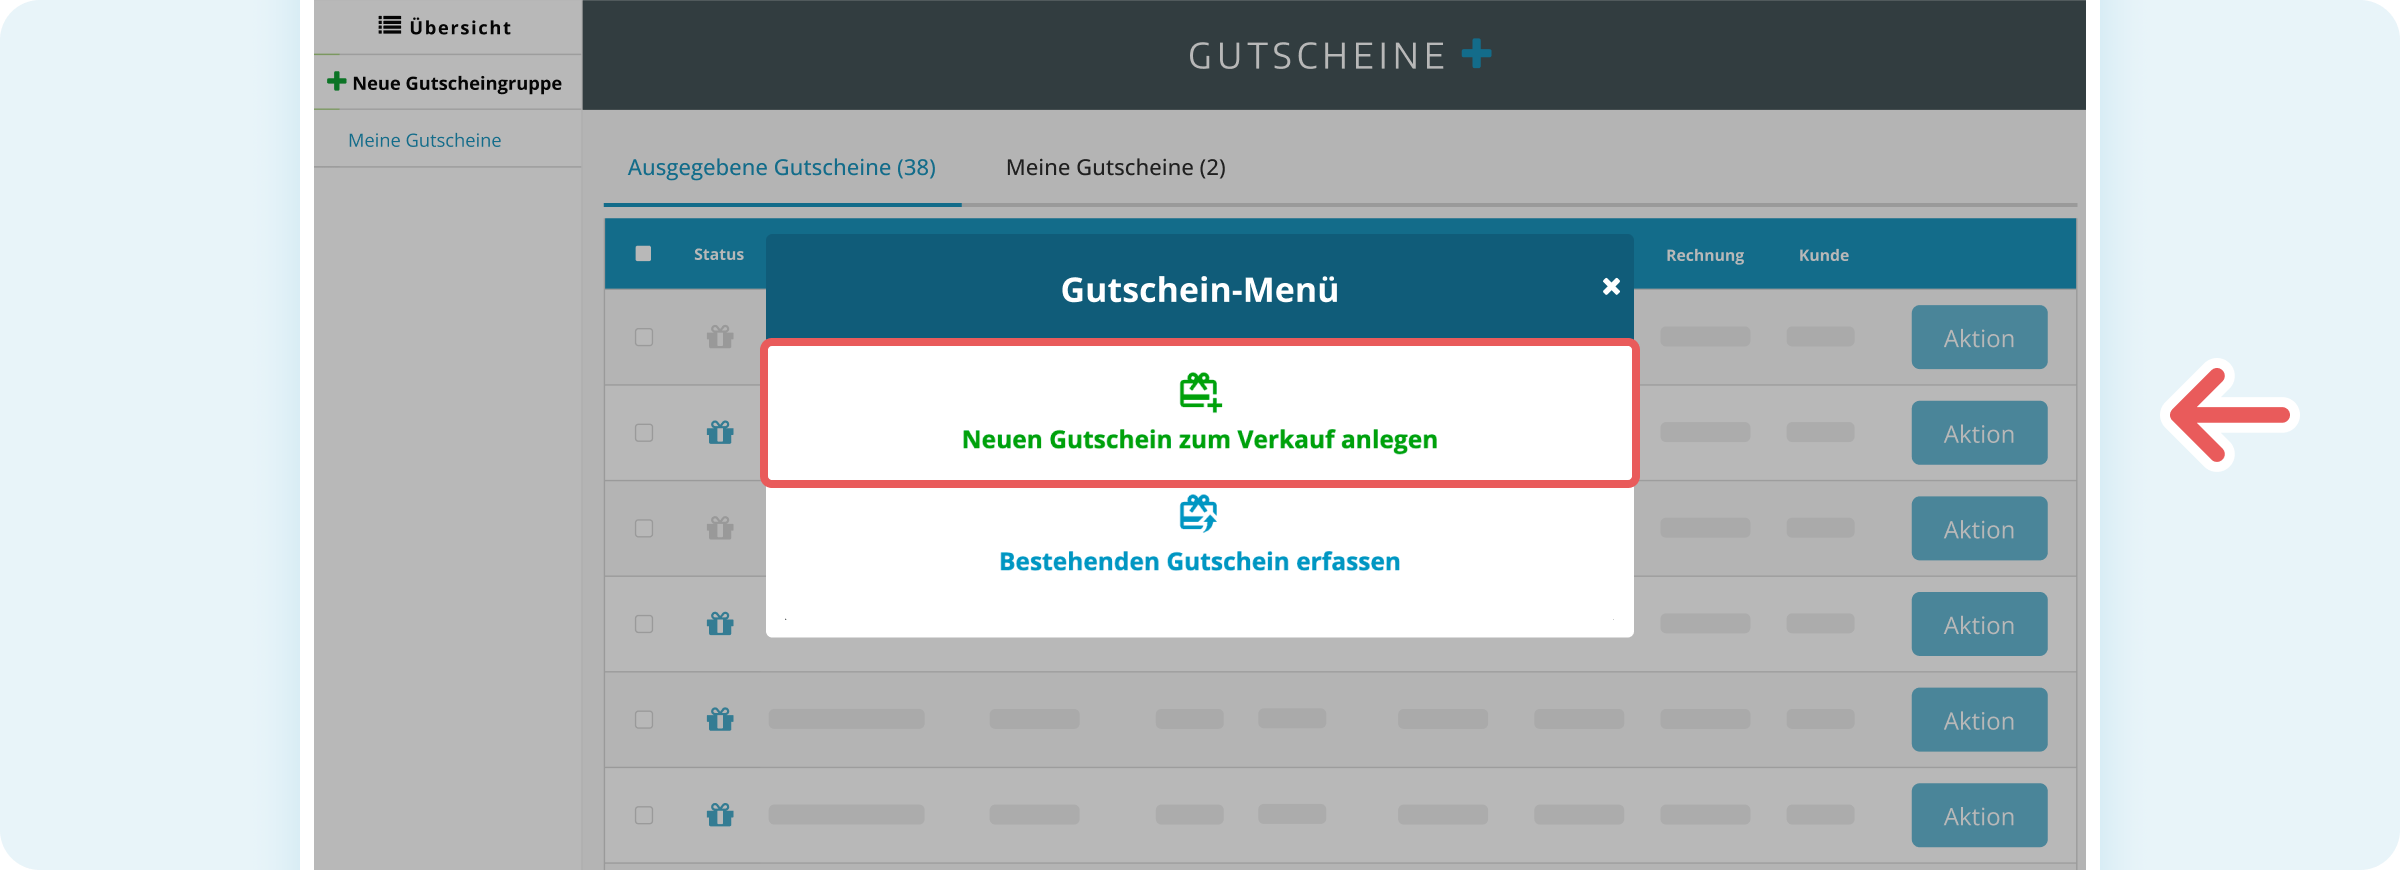
- Complete the following fields in the General tab:
- Name: The name of the voucher as it appears on the invoice.
- Price: Enter a fixed price or enable the Manual price entry toggle to set the price flexibly when selling the voucher.
- Voucher purpose: Select the required option from the dropdown menu:
- Single-purpose voucher: For products with a specific tax rate. VAT is charged when the voucher is sold.
- Multi-purpose voucher: For products with any tax rate. VAT is only charged when the voucher is redeemed.
- Product group: Select a product group.
- Optionally, switch to the Vouchers tab to assign the voucher to a voucher group.
- At the bottom of the dialog, click SAVE CHANGES.
The voucher has now been created and can be sold via the POS. After the sale, the customer receives an invoice with the voucher code.
Create a voucher directly as a product
Alternatively, you can create a voucher for sale directly via the regular product creation process. In the Product type dropdown, select either Single-purpose voucher or Multi-purpose voucher. The dialog then adjusts accordingly:
- Only the General, Vouchers and Purchase prices tabs are displayed.
- The Discountable toggle is greyed out because vouchers cannot be discounted.
- For a single-purpose voucher, you select the tax rate yourself.
- For a multi-purpose voucher, the tax rate selection is omitted and 0% (not taxable) is set automatically.
If you change the product type back, all regular tabs are displayed again and any data you already entered is still available.
Enter an existing voucher
If you have vouchers that were issued outside ready2order – for example, older paper vouchers or vouchers from a previous system – you can enter them manually in the system. This helps you keep track of them and redeem them correctly later.
- Log in to the Admin Interface.
- Hover over Products in the main navigation and select Vouchers from the dropdown menu.
- In the main area, click the blue plus icon to the right of the VOUCHERS heading.
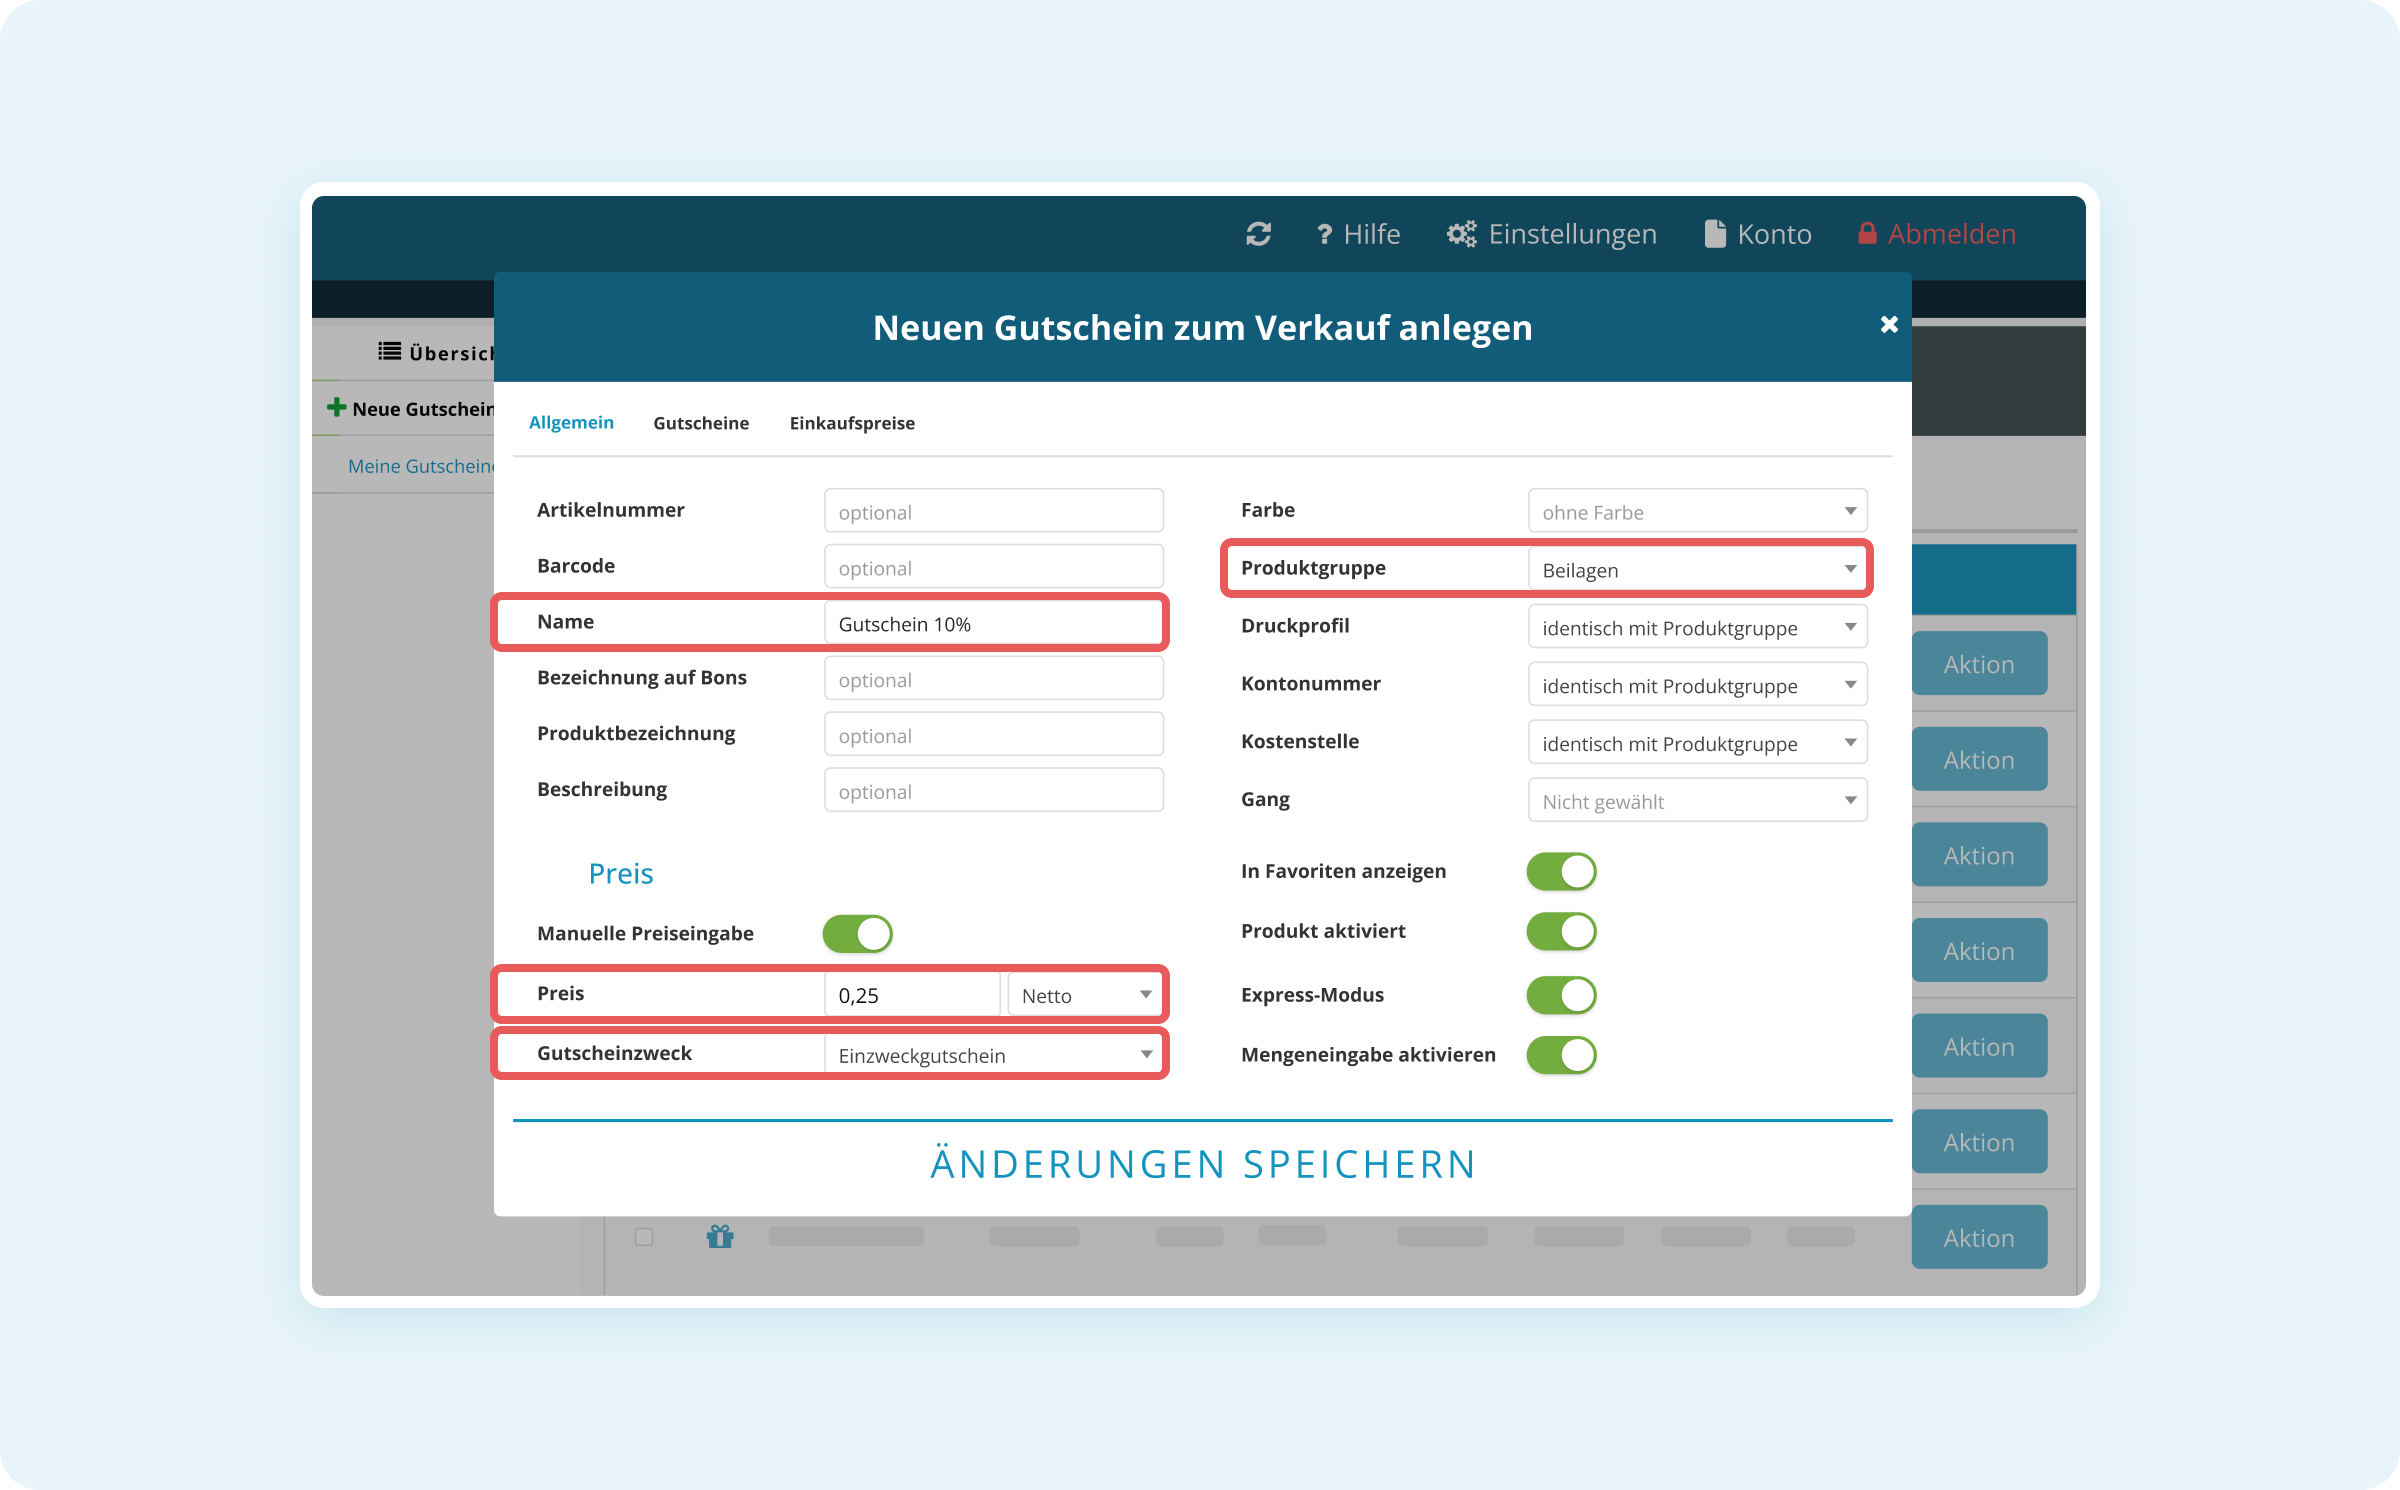
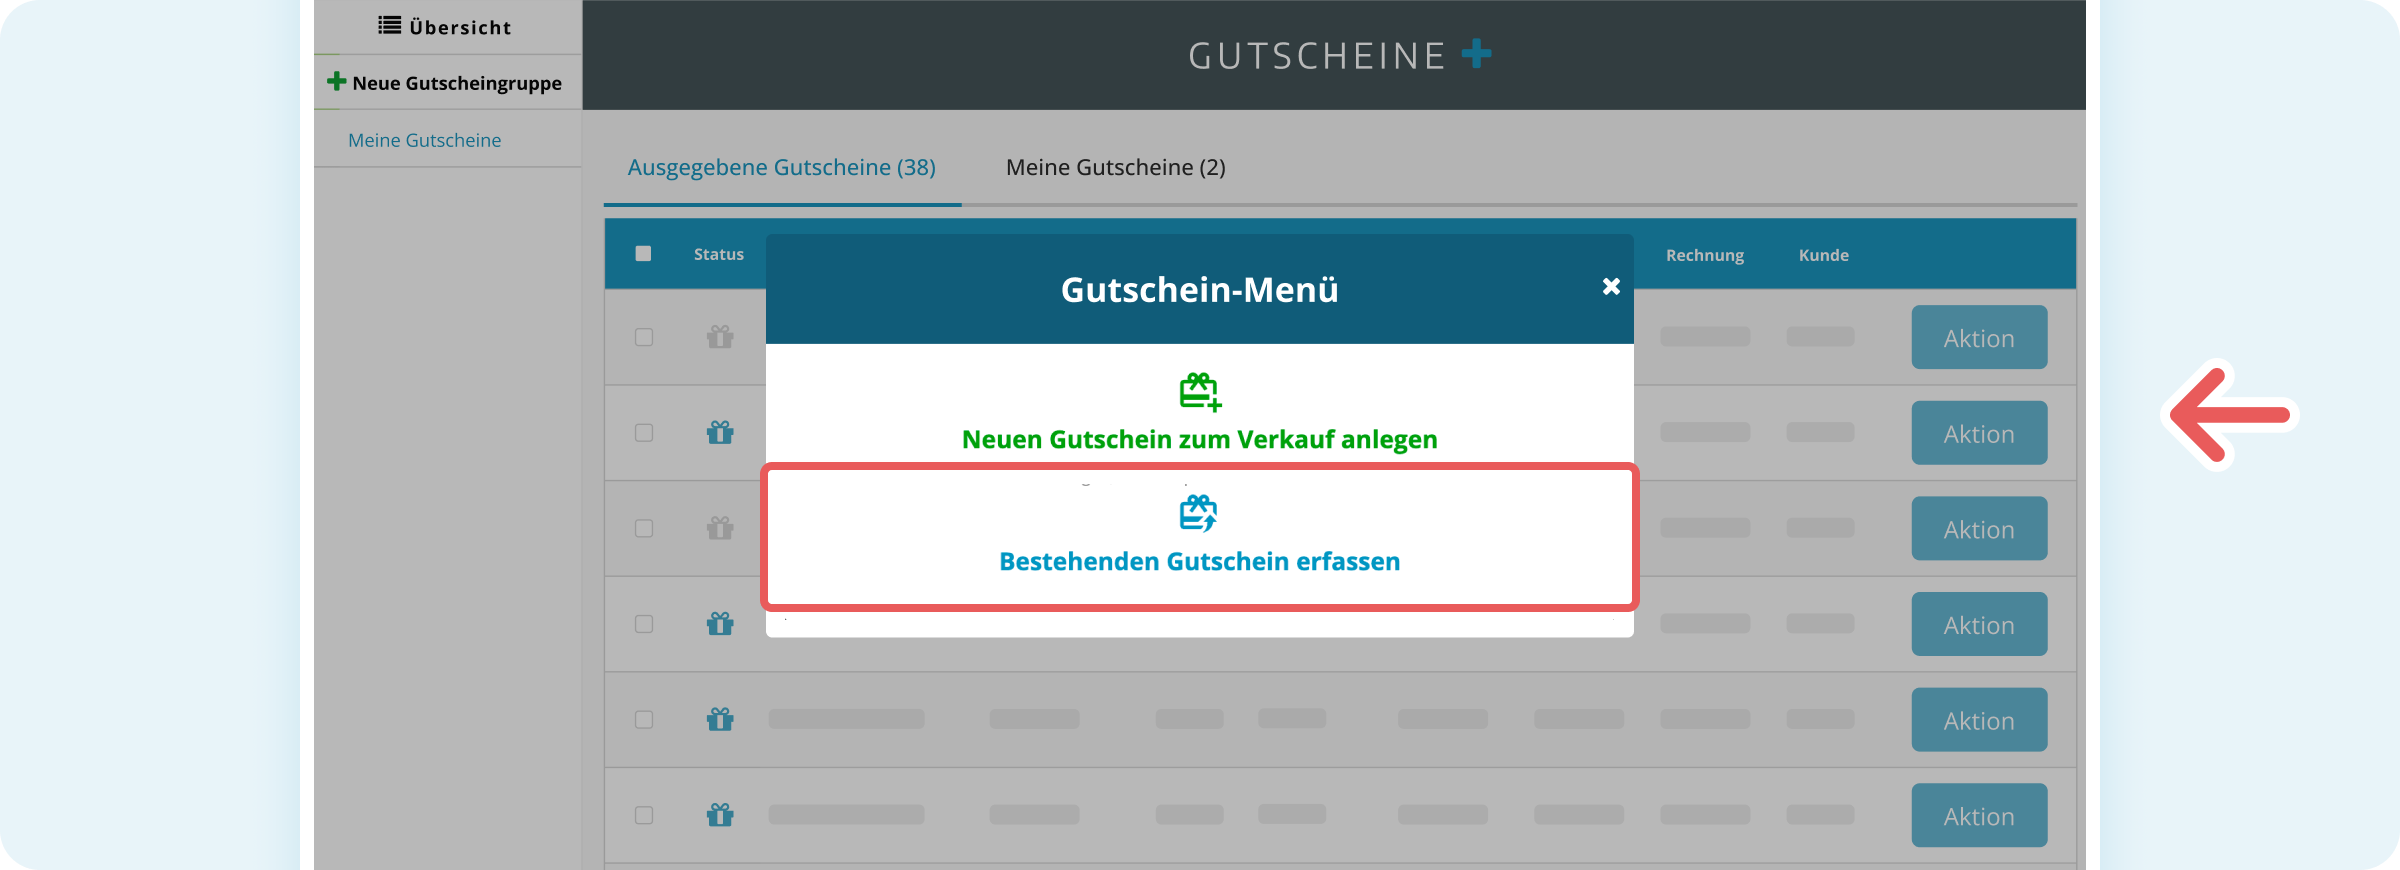
- In the Voucher menu dialog, click Enter existing voucher.
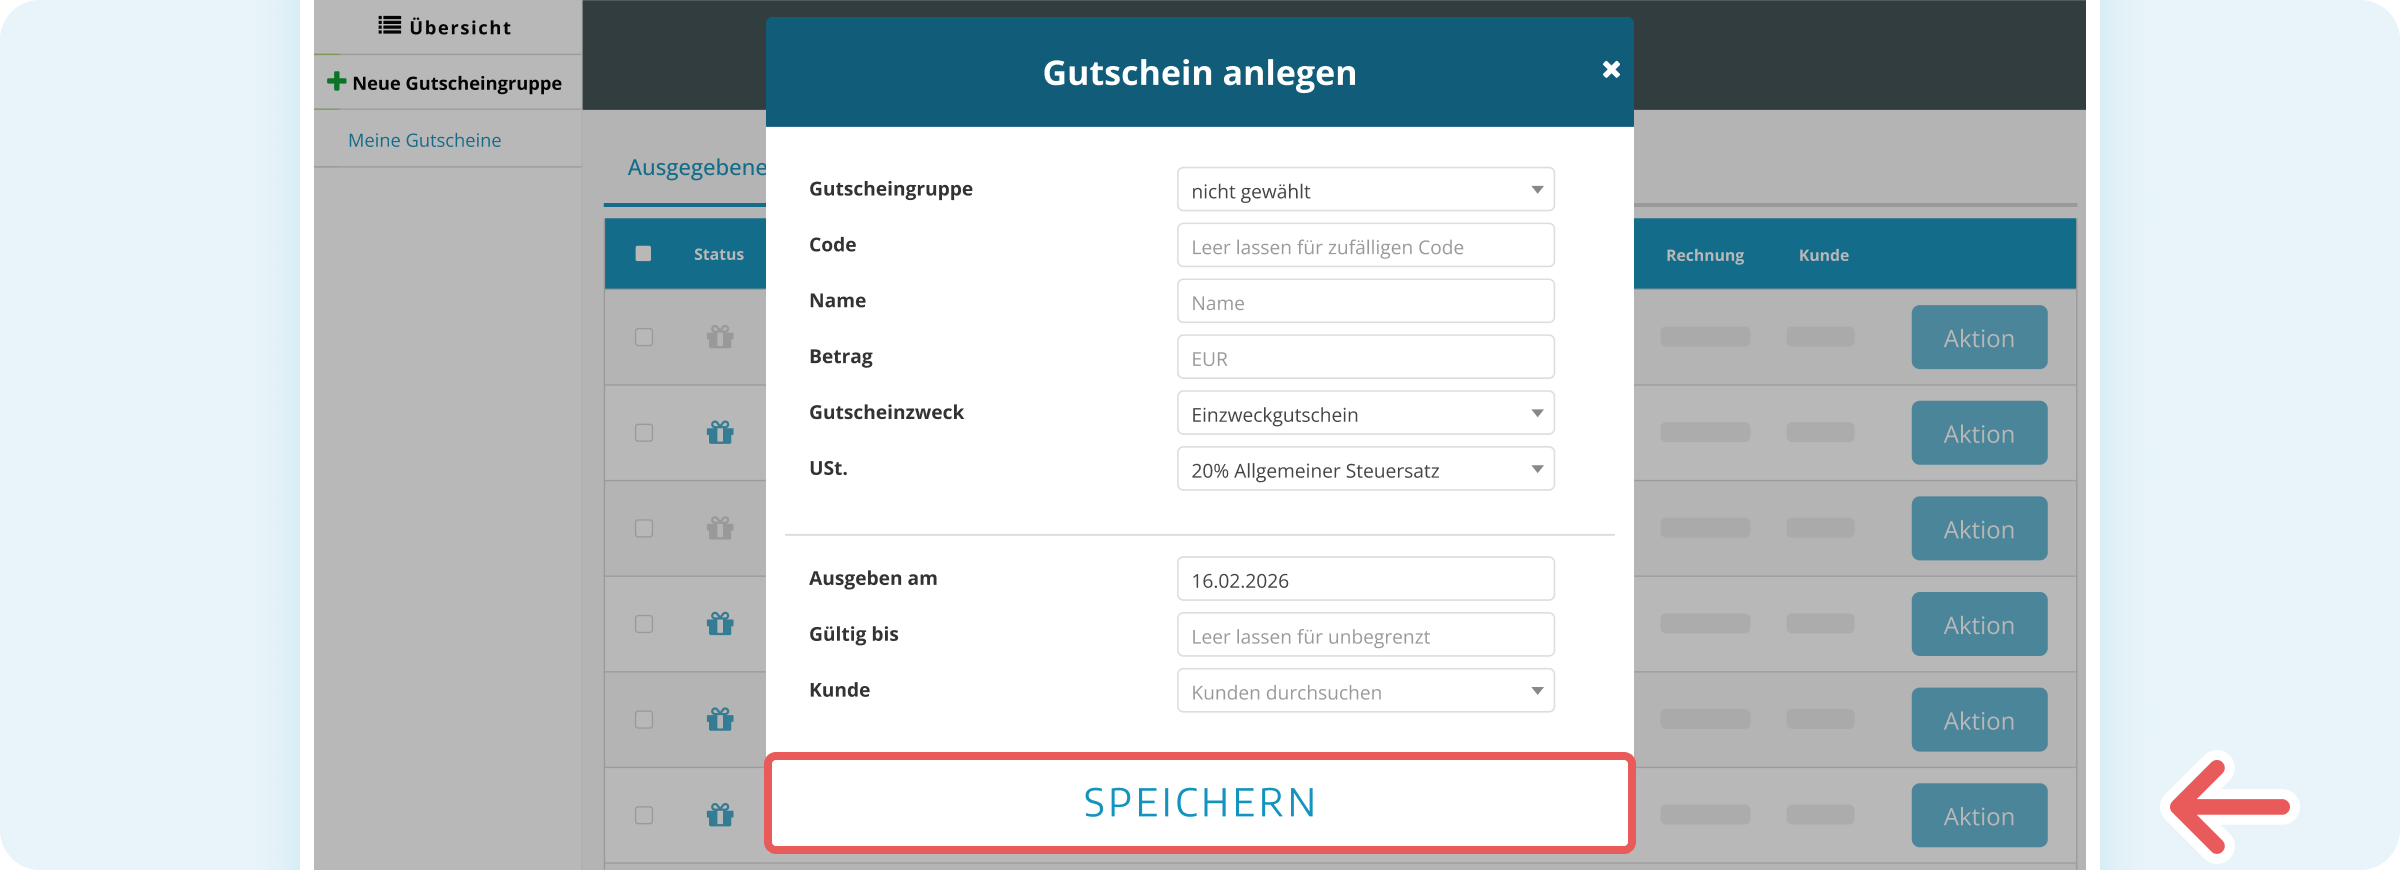
- Complete the following fields:
- Voucher group: Select the appropriate group for the voucher.
- Code: Enter the voucher code (numbers only).
- Description: Optional – a short description of the voucher.
- Amount: The value of the voucher.
- VAT: If the voucher was already taxed when it was sold (single-purpose voucher), enter the tax rate here. If not (multi-purpose voucher), leave the tax rate at 0%.
- Issued on: The date on which the voucher was originally issued.
- Valid until: Optional – if the voucher has an expiry date. If you leave this field blank, the voucher is valid indefinitely.
- At the bottom of the dialog, click SAVE.
The voucher is now recorded in the system and can be redeemed via the POS.
Change the voucher value afterwards
You can adjust the value of an existing voucher at any time – for example, if a customer has redeemed part of the amount or you want to correct the voucher manually.
- Log in to the Admin Interface.
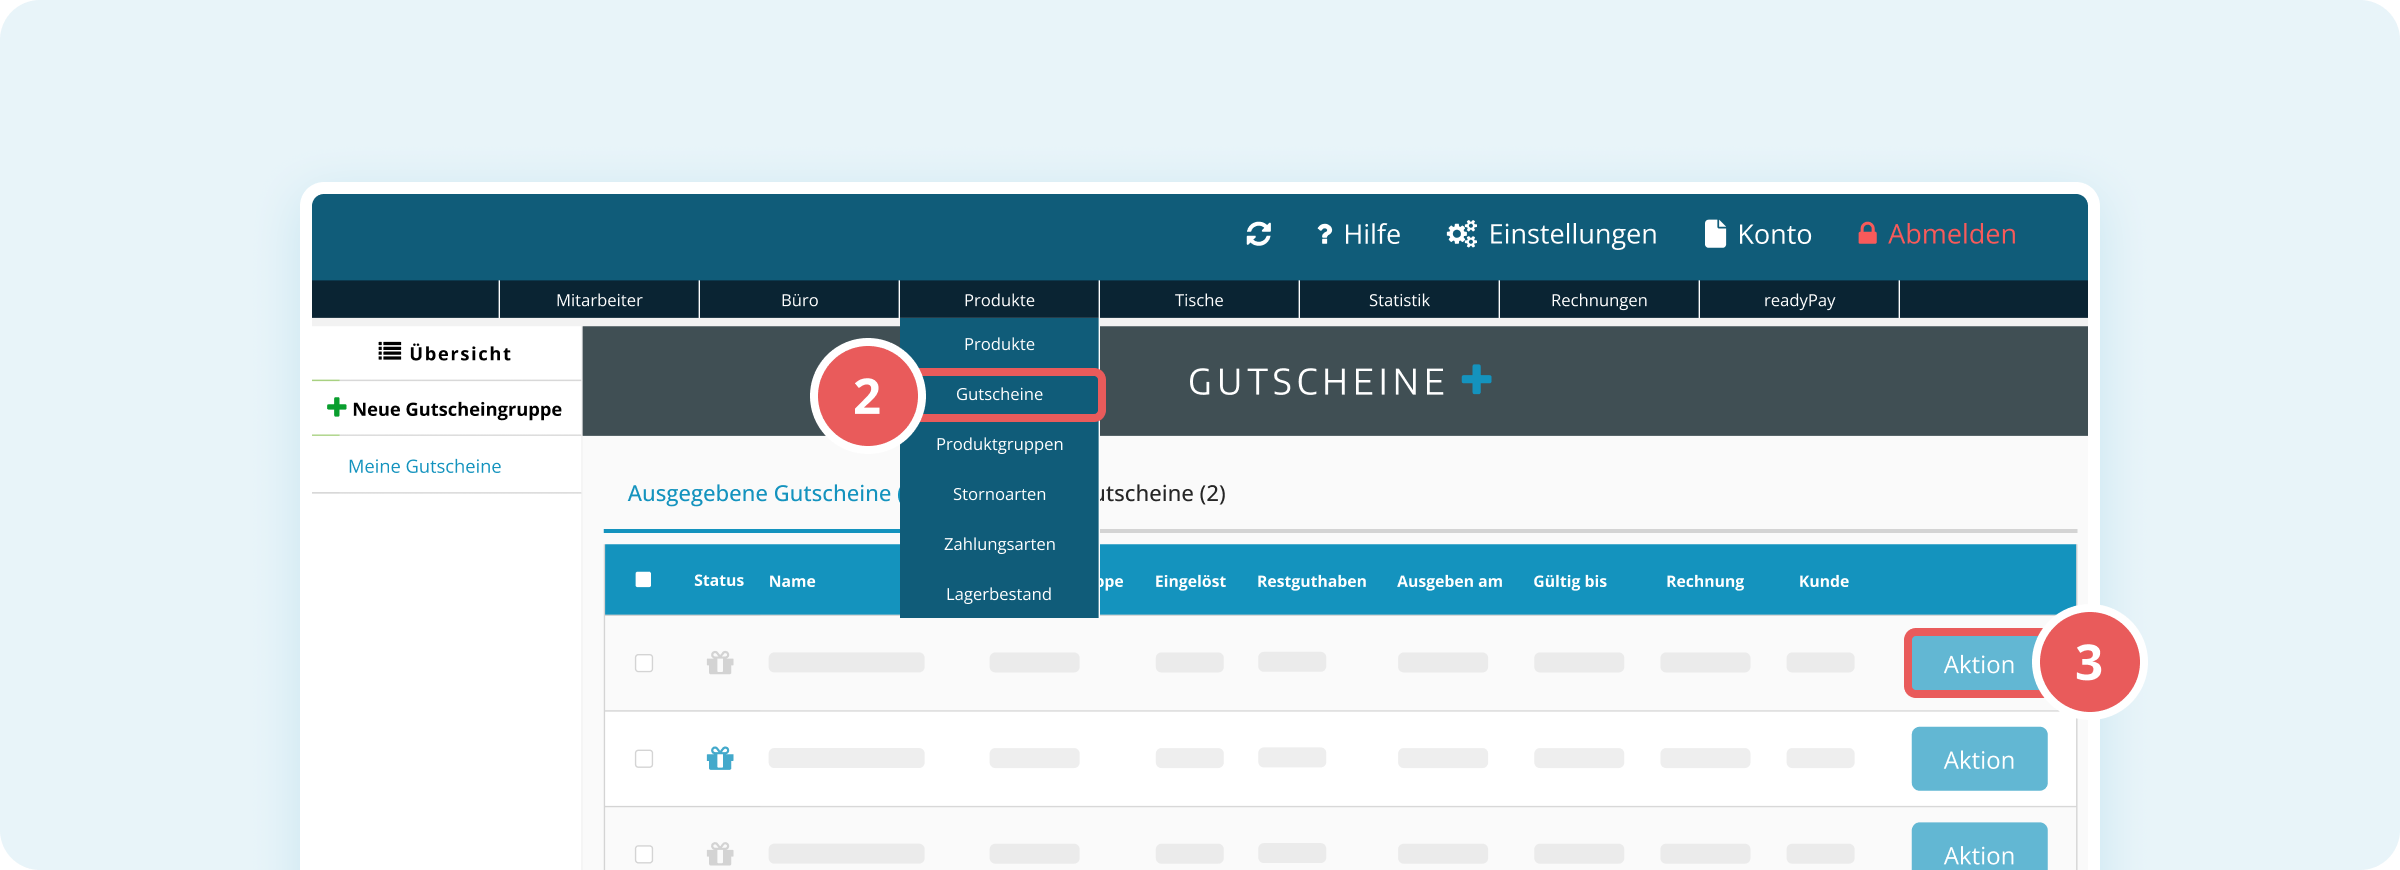
- Hover over Products in the main navigation and select Vouchers from the dropdown menu.
- Click Action to the right of the voucher.
- Select Transaction.
- Click the black plus icon to add a new transaction.
- Enter the amount:
- Positive amount: Increases the voucher value.
- Negative amount: Decreases the voucher value.
- Click SAVE to confirm the transaction.
The new voucher value is displayed immediately in the overview.
Enable the barcode on the voucher invoice
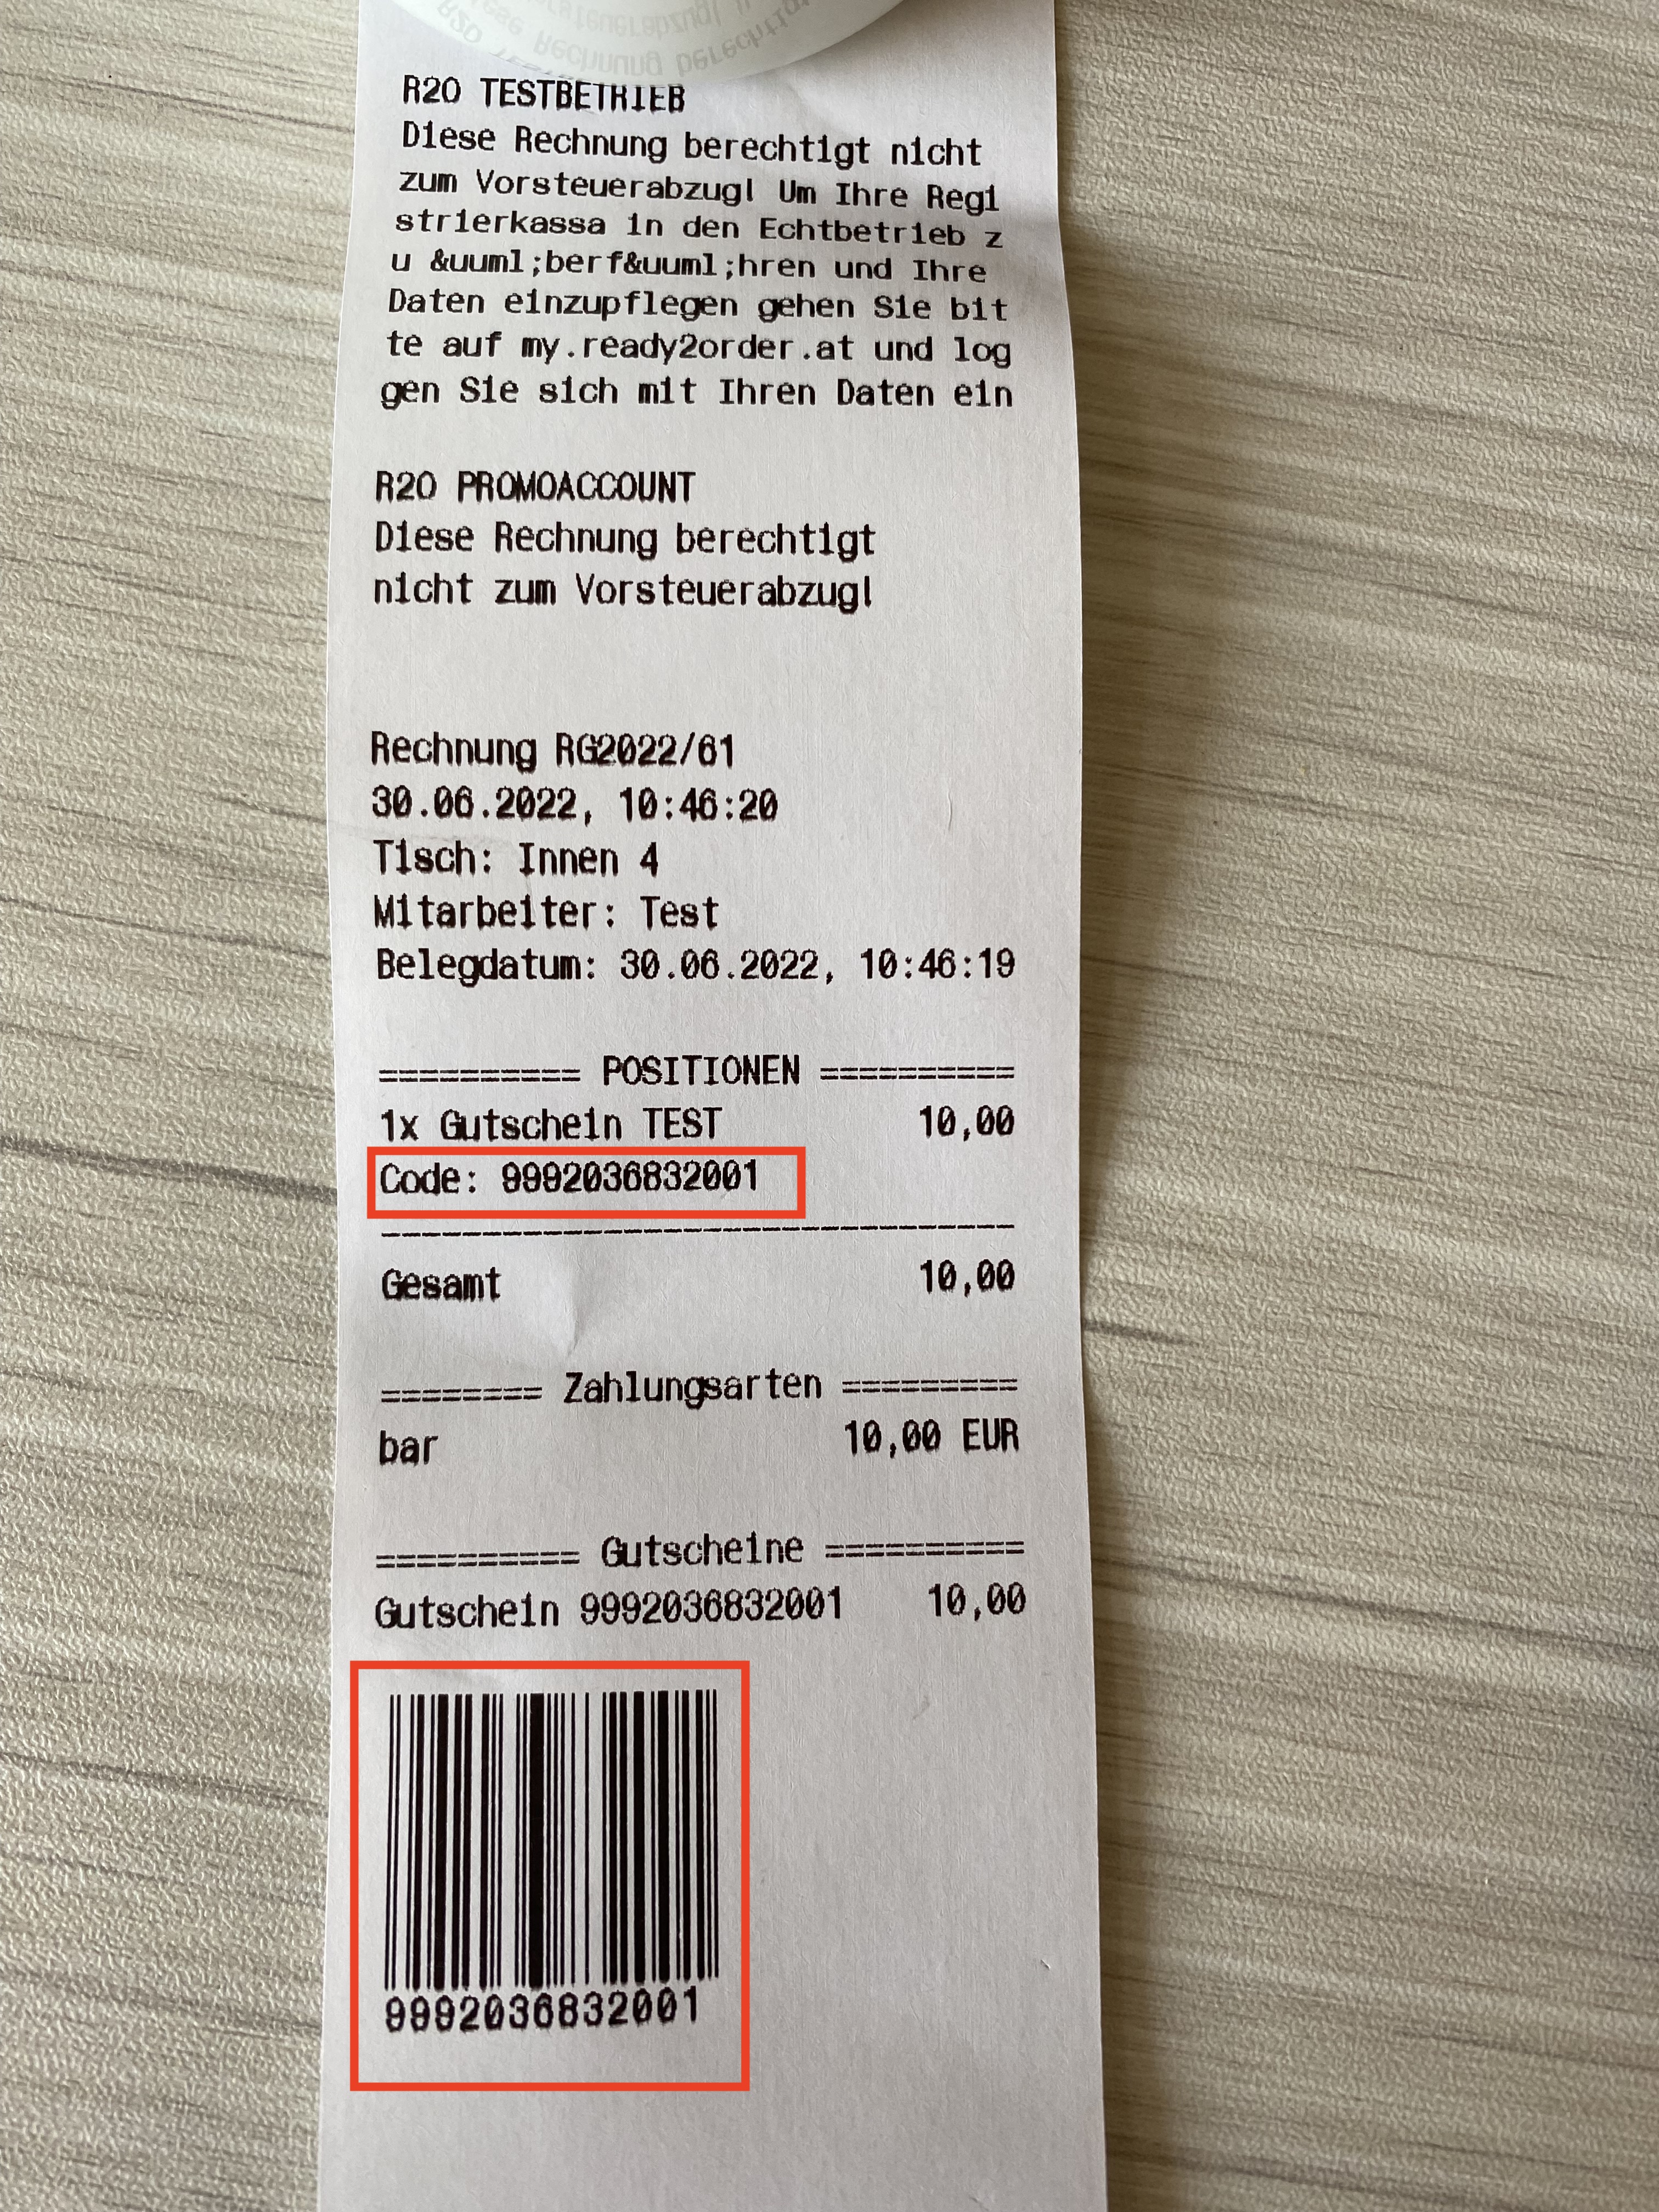
By default, only the voucher code is printed on the invoice as a sequence of numbers. You can also enable a barcode, which allows the voucher to be redeemed using a scanner.
- Log in to the Admin Interface.
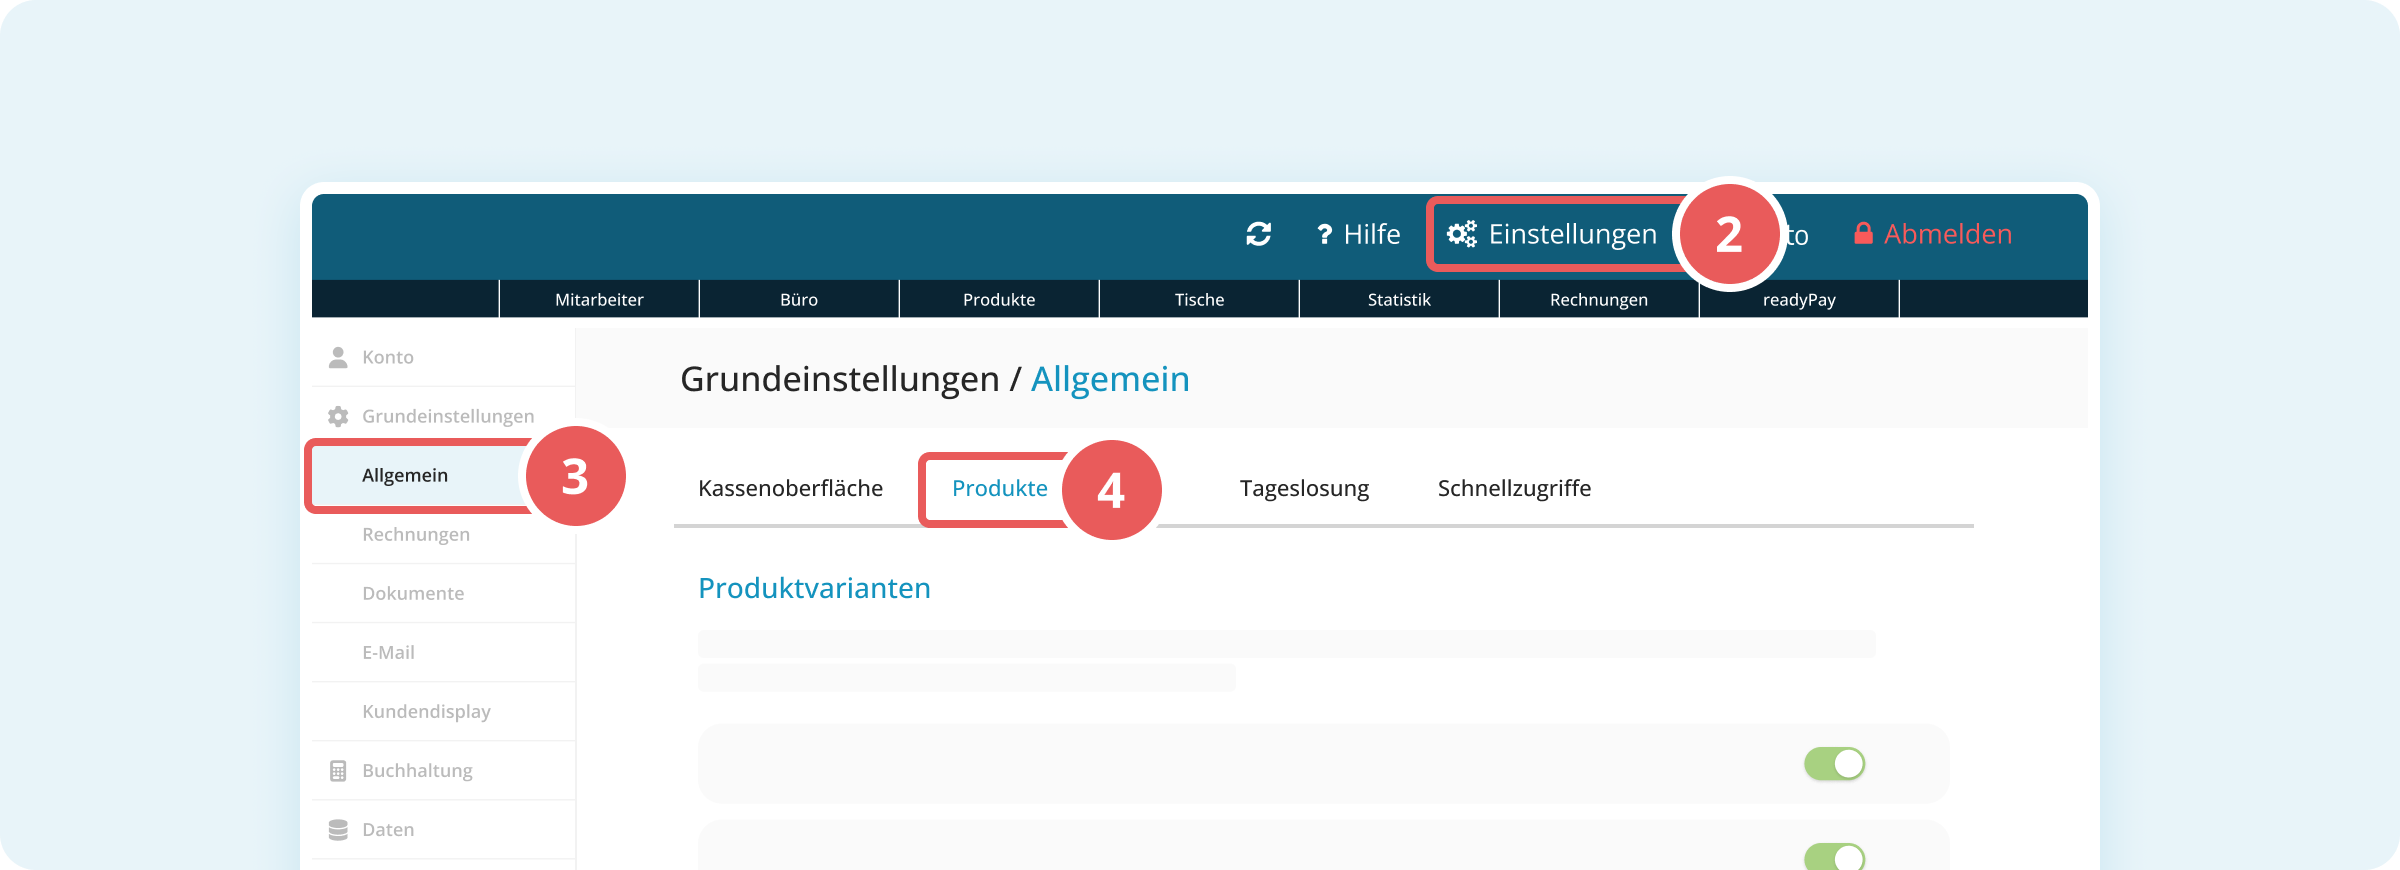
- Click Settings (gear icon) in the top right.
- In the left sidebar, under Basic settings, click General.
- Switch to the Products tab.
- Enable the toggle for Print barcode for voucher on invoice.
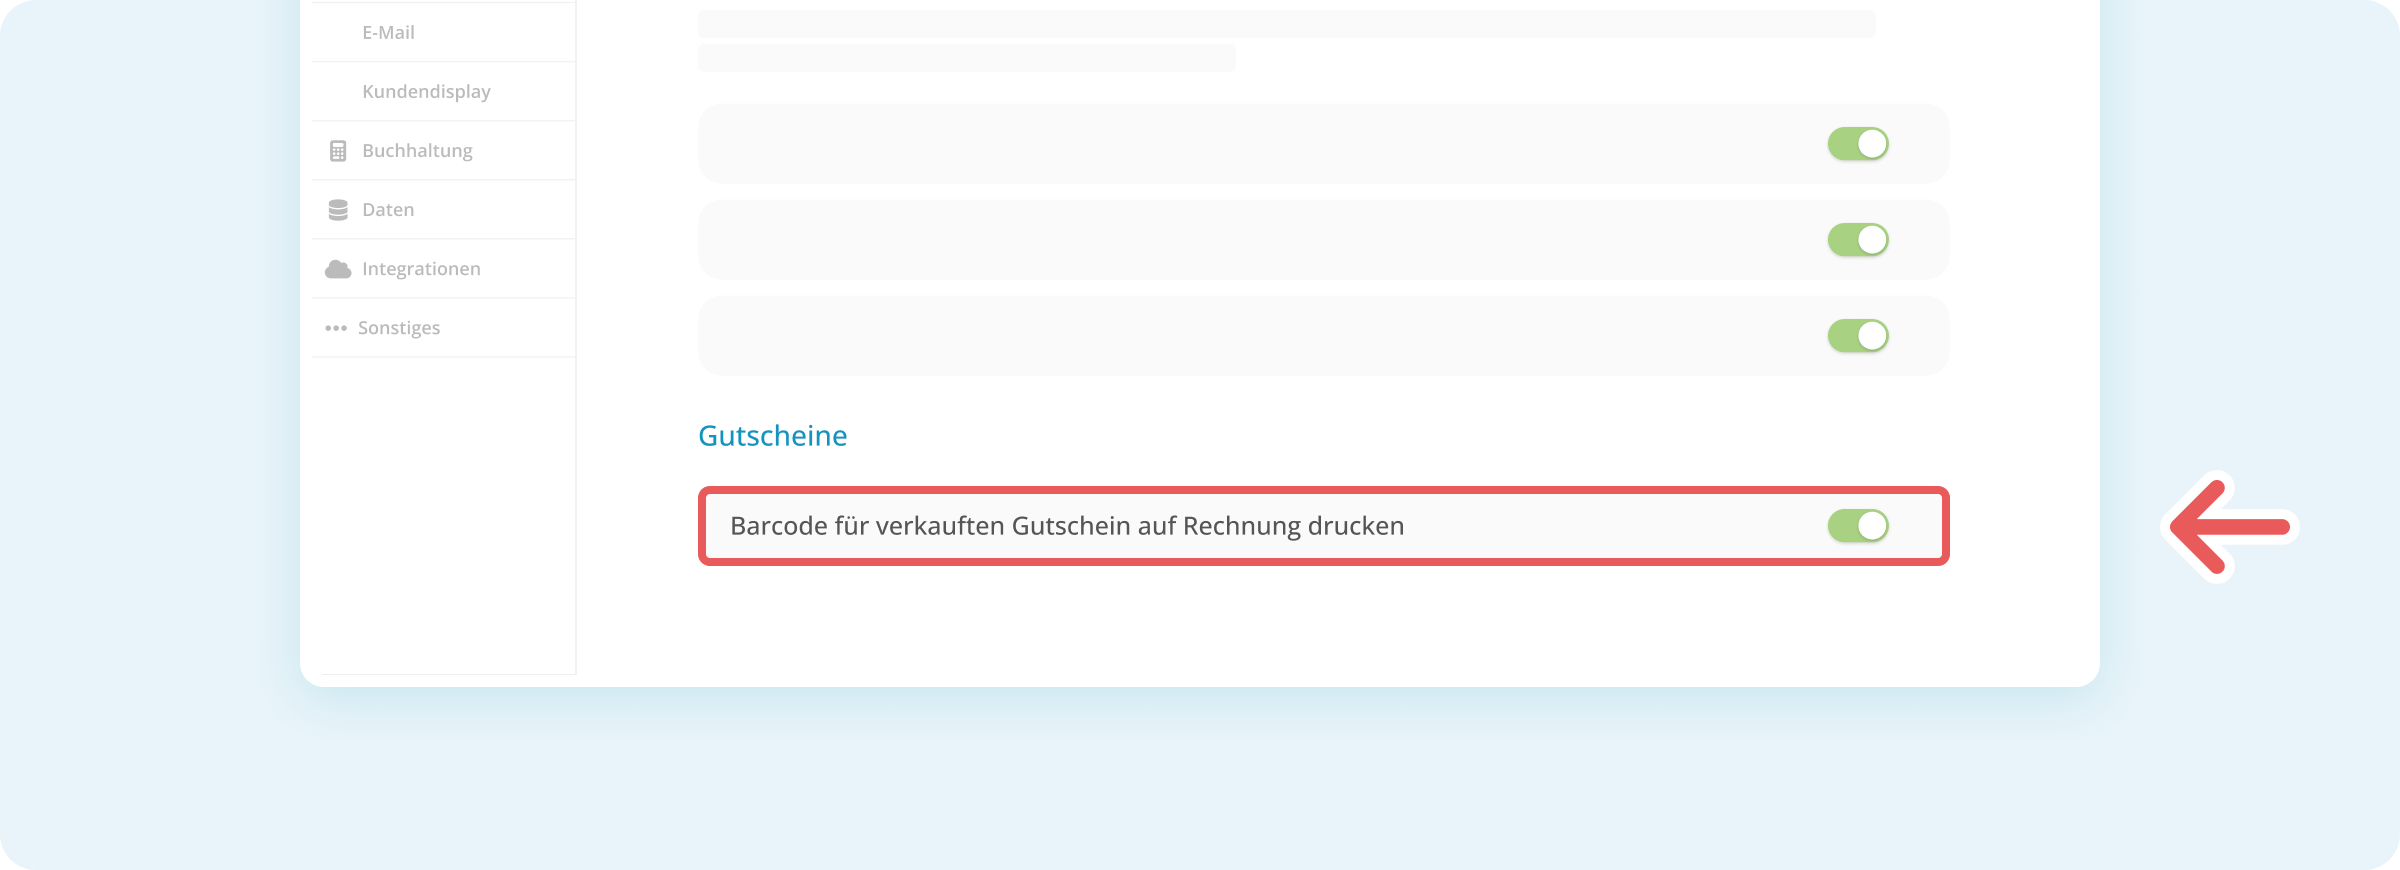
The change is saved automatically. From now on, a barcode is printed on the invoice whenever a voucher is sold.
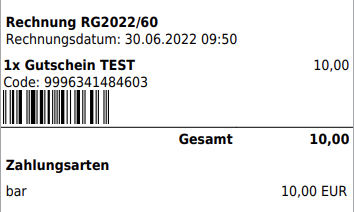
Where can I find the voucher code on the invoice?
After a voucher is sold, the code is displayed on the invoice – either as a sequence of numbers or additionally as a barcode (if enabled). The customer needs this code to redeem the voucher later.
You can find instructions for redeeming vouchers in the article How can I redeem a voucher?
