How do I create printing profiles?

You create a profile with a printer. Once this profile is created, you can assign tasks to this profile with just a few clicks, such as printing invoices or food order receipts. The physical printer in this print profile is interchangeable.
The big advantage of these print profiles is that you can quickly swap the printer in this profile for another one, but all settings of the profile are retained.
Here you can see a short video showing how easy and quick you can create a printing profile:
Here we explain again step by step how you have to proceed to create print profiles:
- Go to the POS
- Click on Settings (gear) - now you are directly at the printers
- Click on Add new printing profile - now you will see how to create the profile
- Click on Get started! - available printers will now be searched for and displayed. Please make sure that your desired printer is installed and switched on
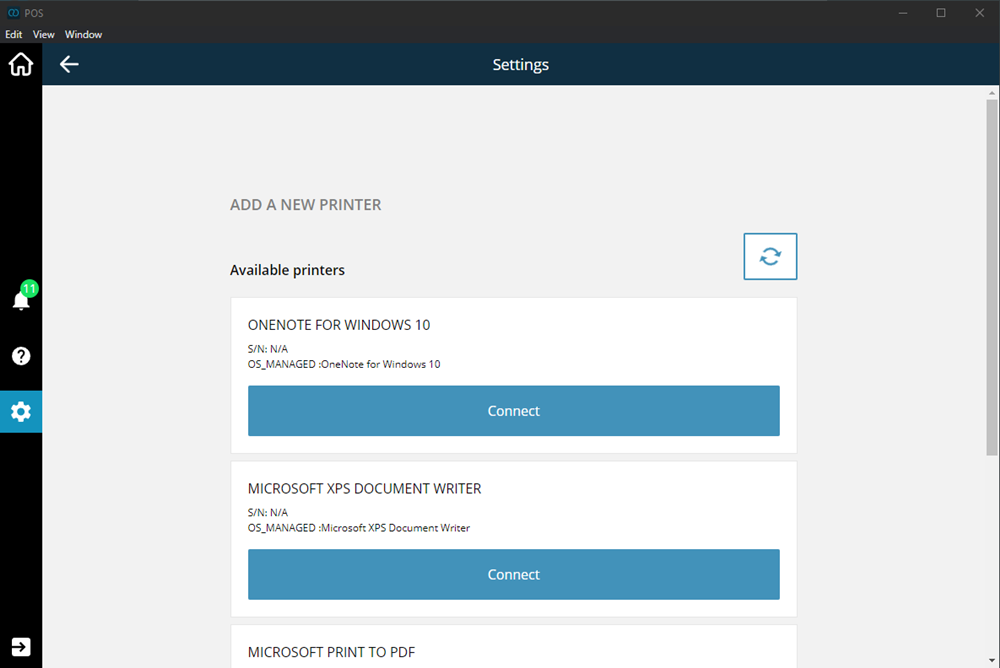
- Now click on Connect for the printer you want
- You now have the option of giving your print profile a suitable name. You can of course change this name later. Now click Next
- You are now in the last step. Here you can try to do a test print and have the option of making various device settings. Please note that these settings may vary depending on the printer model. Once you have set everything, click Done. You have now created a printing profile
- You will now be redirected to the main printer page. Here you will see the print profile you just created under Existing Profiles